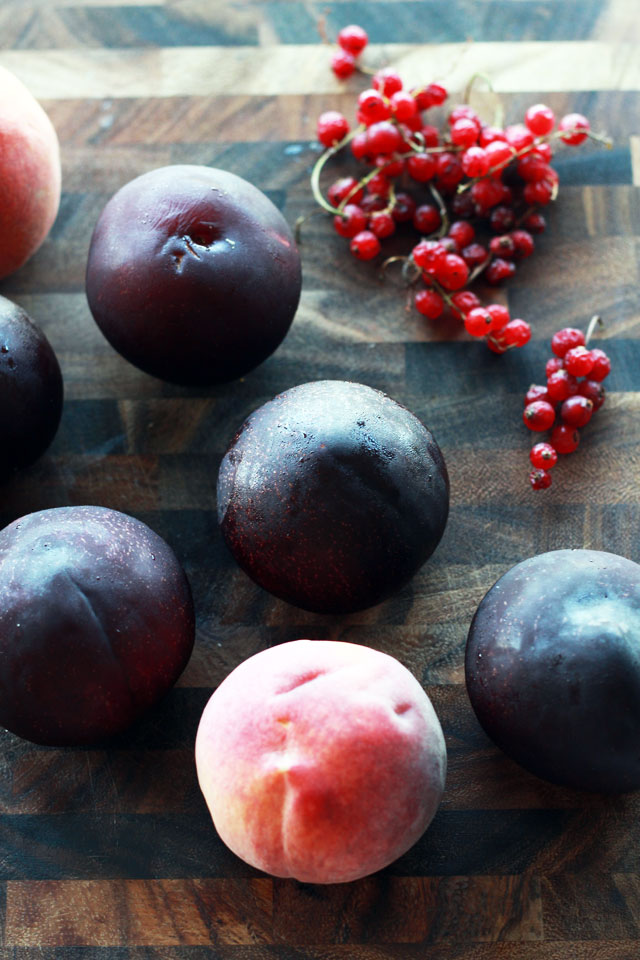
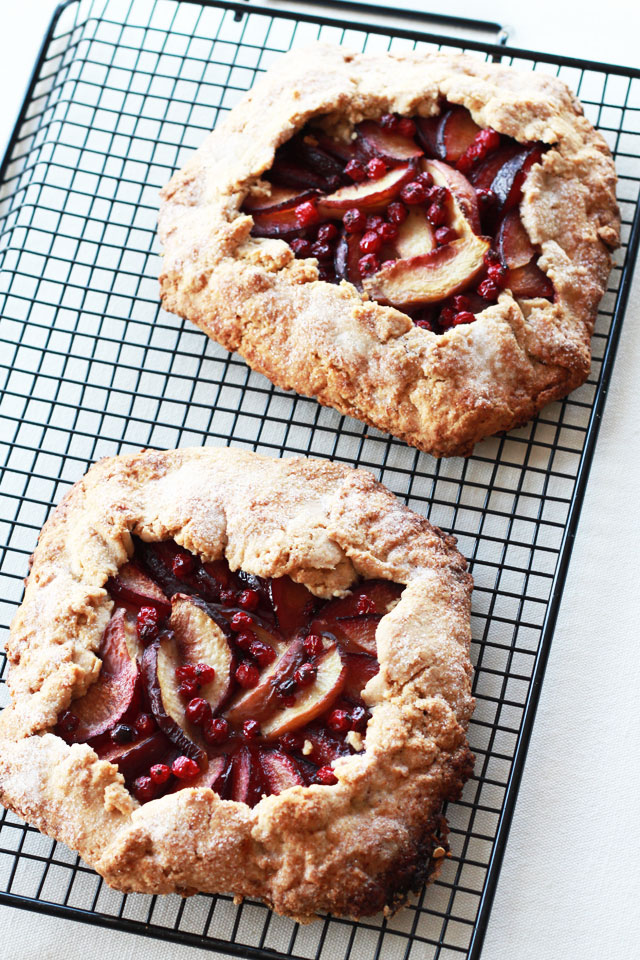
Dare I say that some of my favorite desserts are not of the overly sweet variety? I may be totally alone in this preference, but I can honestly say there are some desserts that are just too sweet, too decadent, too much. In fact, I have an affinity for desserts that can be eaten at breakfast. That’s my threshold. So it’s no wonder I’ve been wanting to try my hand at a rustic, French-style galette (the Italian version is a crostata). A delightfully free-form tart, I made use of late-summer fruit from the farmers’ market in my galette—juicy peaches and ripe black plums, as well as tart red currants—and substituted whole-wheat flour for a grainy texture. It’s not perfect, but that’s entirely the point. And definitely not too sweet, relying mostly on the natural sweetness of the fruit. I can’t wait to come back to this basic recipe again and again, mixing in different fruit or even veggies with soft cheese for a more savory approach. So easy, too!
Stone Fruit Galette with Plums, Peaches & Red Currants
2 cups whole-wheat pastry flour
1 1/2 sticks of cold unsalted butter, cubed
1 tablespoon sugar
½ teaspoon salt
5 tablespoons ice water
2 tablespoons unsalted butter, melted
Raw sugar for dusting
Filling
3 ripe plums, sliced
2 ripe peaches, sliced
2 handfuls of fresh red currants
1-2 tablespoons sugar
Combine the flour, sugar and salt in a bowl. Using your fingers, cut the cold, cubed butter into the flour. Work quickly to keep it cold, combining until the mixture becomes coarse crumbs. Sprinkle the ice water over the dough and mix into the dry areas. If needed, add small amounts of additional ice water to reach a workable dough consistency. Press the dough into two flat, round discs (no need to be perfect here) and wrap tightly with plastic wrap. Refrigerate for at least an hour.
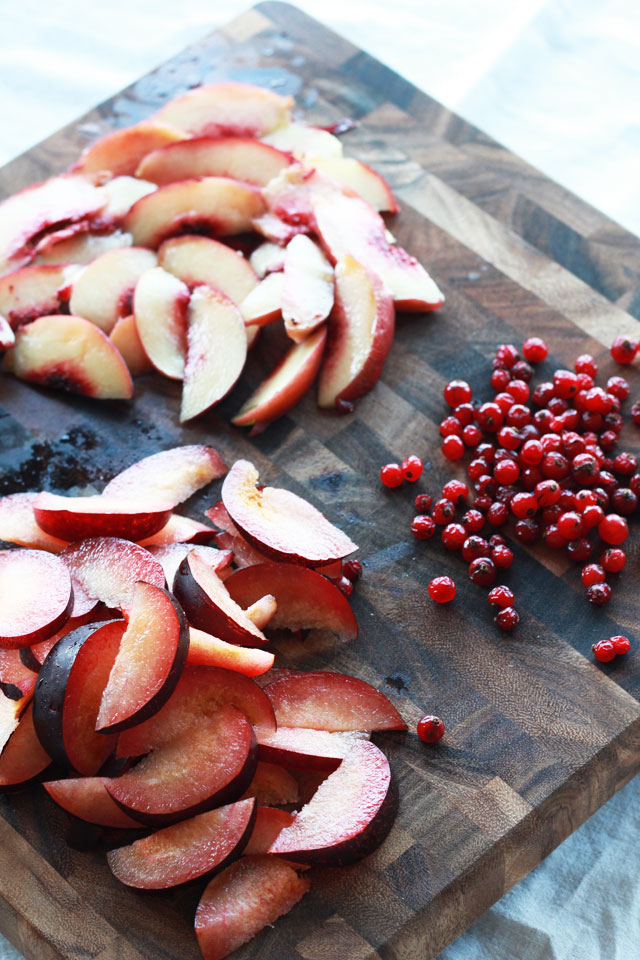
Prep the fruit—cut the plums and peaches into thin slices and combine in a bowl with the currants. Toss with a couple spoonfuls of sugar and let sit. Once your dough has chilled, preheat the oven to 400 F and remove dough from the refrigerator. Line a baking sheet with parchment paper. Lightly flour a work surface and roll the dough into an imperfect circle. Transfer to the lined baking pan. Add your fruit filling in the center of the galette, arranging in concentric circles and leaving about two inches of crust around the edges. Fold the edges of the dough up over the filling. Brush the melted butter over the crust, then sprinkle the sugar over the entire galette. Bake 30-45 minutes, until your crust is golden.
Outfit details: similar shirt, skirt and heels, vintage clutch
On the weekends, I can’t get enough of this utility shirt. The loose fit, super-soft material and goes-with-anything sage green color make it a cozy topper to white jean shorts and sandals in the summer and skinny dark denim and ballet flats in the fall. To take some of that weekend comfort into the work week (or for a date night), I paired it with a high-waisted pencil skirt and heels, tying the shirt’s ends up in a knot. That’s the great thing about wardrobe basics like a utility shirt and pencil skirt–you can transform them in so many ways!
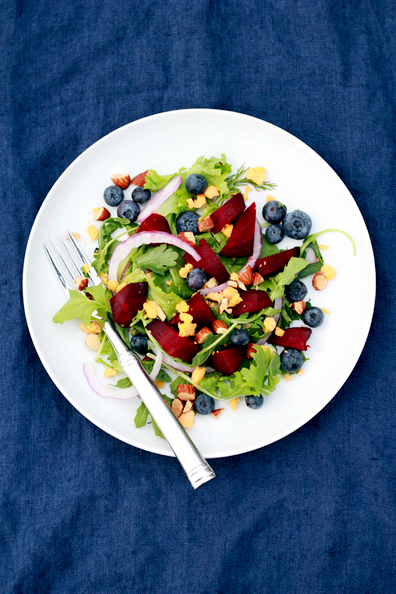
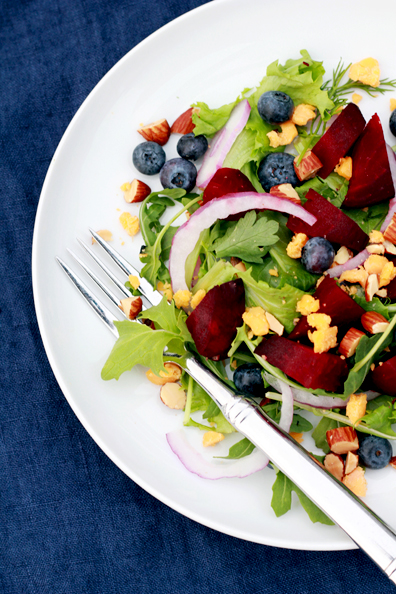
A recent, perfect Saturday went a little like this: Load up on (lots and lots of) fresh produce at the farmers’ market, walk to our favorite restaurant Graze, order the best Bloody Marys in town, and split a perfect salad and perfect egg sandwich. Oh, and then take a nice long nap after! This salad is my at-home recreation of the one we ate for brunch that day. We thought it was the best combination, one we wouldn’t have thought of ourselves—juicy, roasted beets paired with sweet summer blueberries and Hook’s 10-year cheddar. We do live in Wisconsin after all, so it’s only appropriate that a locally sourced restaurant finds clever ways to incorporate local cheeses into their plates. And even better that the grocery stores here carry those cheeses, too.
3 large beets
2 handfuls of blueberries
1/4 red onion, very thinly sliced
10 roasted, salted almonds, coarsely chopped
Hook’s 10-year cheddar (or another aged cheddar), crumbled
Arugula or mixed greens
1/4 cup champagne vinegar
2 teaspoons Dijon mustard
1/2 cup olive oil
Salt and pepper
Preheat oven to 400 degrees F. Rinse and scrub beets, then transfer to middle of a large piece of foil and create a packet. Add a few tablespoons of water before closing the foil. Place on a baking sheet and roast 20-30 minutes until easily pierced with a fork. To make the dressing, whisk together vinegar and mustard. Slowly whisk in olive oil and season with salt and pepper. Once beets are cooked, remove from foil and rub skin off with a paper towel or thinly slice off with a knife. Slice into 1-inch pieces. Dress the greens and pile onto plates. Top with the beets, blueberries, aged cheddar, red onions and almonds. Finish with a sprinkle of Maldon sea salt.
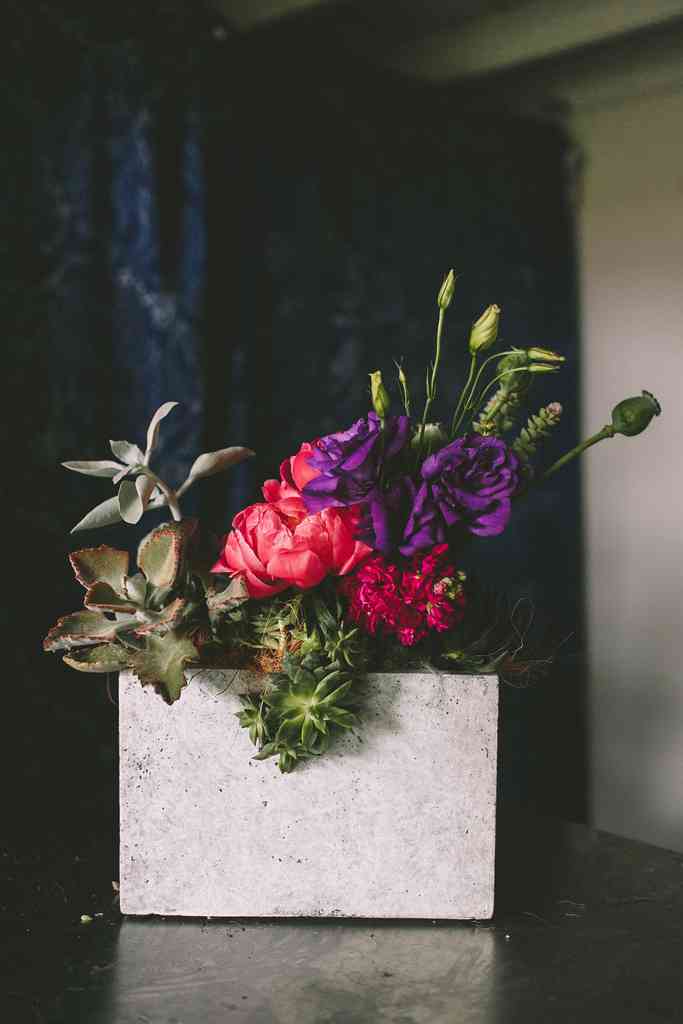
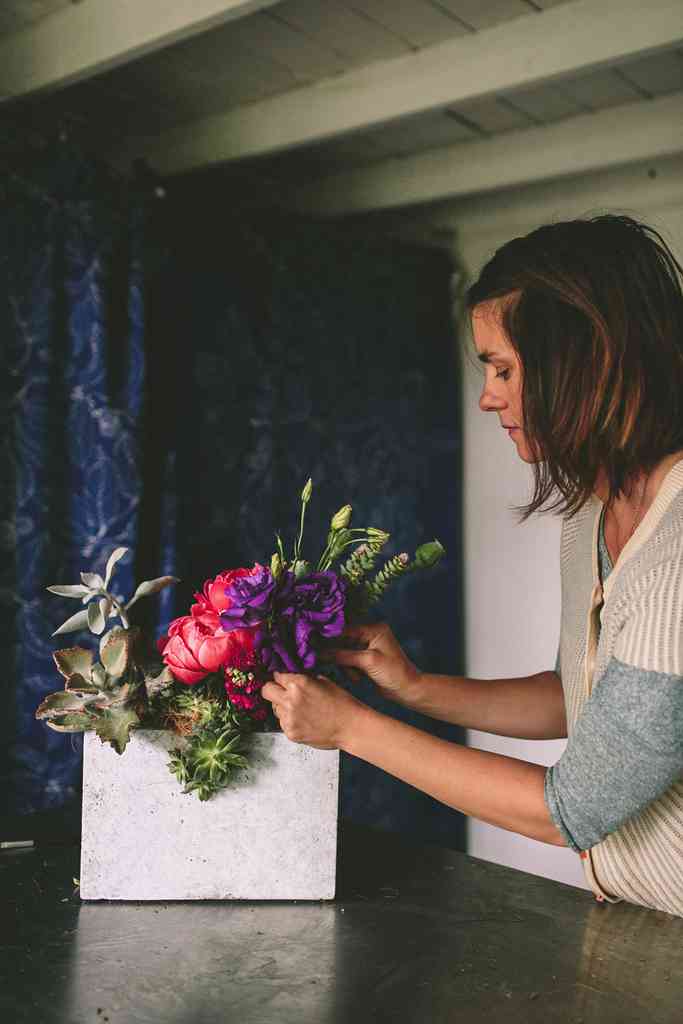
Hello! This is Erin from Rosehip Flora, with another installment of In Bloom. Today we’re making a succulent planter with the addition of fresh cut flowers. Materials needed include: a planter container, rocks for drainage, soil, a vase that fits inside the planter, floral wire, snips and the desired succulents and fresh flowers. That’s it! Read on for the step-by-step tutorial…
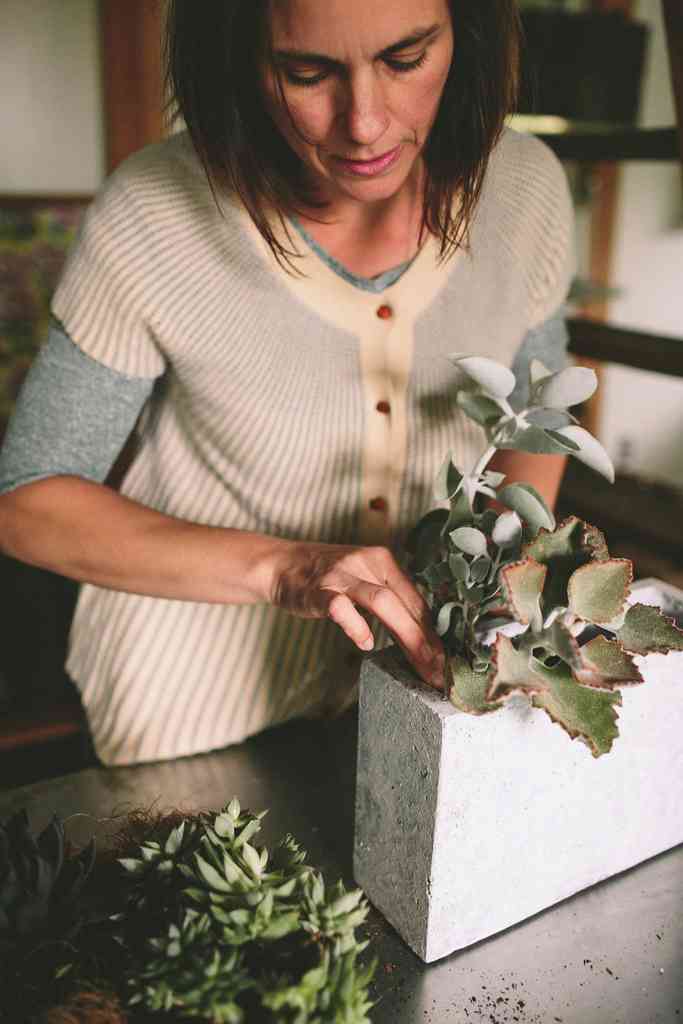
When choosing succulents, look for a variety of plants while keeping the size and shape of your container in mind. I’d recommend taking your container to the nursery to get a visual of how certain plants will work. Hold them up to the planter, put them in, and see what fits. The goal is to make the plants mesh together – as if they had grown in right there.
First, place your vase in the container to hold the space for your flowers. Then line the bottom of your container with rocks to help with drainage. Next, fill the container with soil about an inch from the edge.
Now you can start placing your plants in the container, keeping the roots in tact. You may need to play around with the placement a little to get it where you want it.
In some cases you may need a little extra help to keep your plants where you want them until the roots take hold in their new environment. By hair pinning a long piece of heavy gauge floral wire, you can pin down the wayward plant, sinking the wire deep into the container and taming your little plant. Make sure to fill in with more soil as needed to keep all plants bolstered up and happy.
Once the plants are in place you can use a variety of materials to top dress the planter. Here I used coconut fiber or ‘coir’ as well as angel hair moss, which not only hides the soil from view but also helps it retain moisture. Hair pin the pieces into place with floral wire.
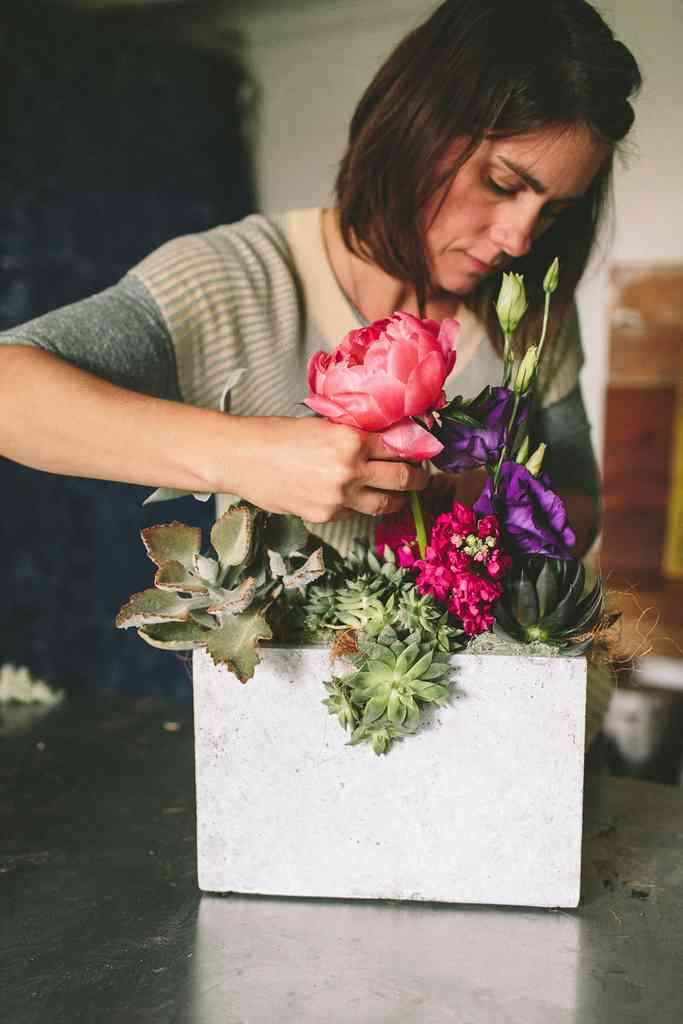
Next, fill your vase with water and prepare your flowers. Remove leaves so that nothing but stem is in the water of the vase. This will help keep bacteria from growing as quickly in your water.
I started with the low, heavy fuchsia colored stock to fill in the mouth of the vase and followed with the deep purple lisianthus and its sweet little buds. Big juicy coral charm peonies we placed next, just above the stock and cozied up against the lisianthus. I completed the look with a few green textural elements (poppy pods and leucadendron) to tie in with the succulents.
Finally, I used a paint brush to gently sweep the succulent leaves clean of any soil remains.
And the arrangement is complete! Although flowers don’t appreciate sunlight, the plants like it indirectly, as well as a healthy watering every week. You may chose to change out the flowers and add fresh water when yours are no longer, or you may remove the vase and fill in with another plant – or just give yours more room to sprawl. Have fun and enjoy!
Tutorial by Erin Knipp of Rosehip Flora, photos by Julie Cope Photography for Perpetually Chic
Outfit details: Urban Outfitters shirt and shorts | Zara flats (similar) | Crate & Barrel bowls (similar)
How about a little ice cream social at home to celebrate the last few weeks of summer? Over on Channeling Contessa this week, I shared a retro-meets-today look in strawberry and mint colors, complete with high-waisted shorts! I wanted to channel an ice cream shop, ’50s vibe but translate it into a wearable outfit for today. Slightly retro, almost pin-up girl…
Plus, I revealed a super simple trick for upgrading your store-bought gelato. My little secret, time-saving trick: Pick up a couple pints of your favorite flavors of gelato and crush a few different toppings into very fine crumbles. Scoop each flavor of gelato into balls, and return to the freezer on a parchment-lined baking sheet. Let the gelato scoops refreeze, then roll each ball into the crushed topping, and refreeze them all once again. These “gourmet” ice cream sundaes are super fun–and easy–for impromptu summer parties. And you can be creative with your pairings…I matched mango gelato with unsweetened coconut flakes, chocolate gelato with crushed peanuts, and sea salt caramel gelato with chopped chocolate.
Some days, two trends are better than one. Like shorts worn with heels, and peplum to top it off. For the record, I typically don’t wear heels with my shorts…but anything that is leg-lengthening is worth a try in my book. It’s a fun alternative to a skirt or dress for date night. Just like the heels and my trusty blue pebble Clare Vivier clutch, this peplum top I picked up last year has become a wardrobe piece I keep coming back to again and again. I love mixing nice wardrobe staples like these with budget buys–these shorts were a mere $12.95–for a high-low look!
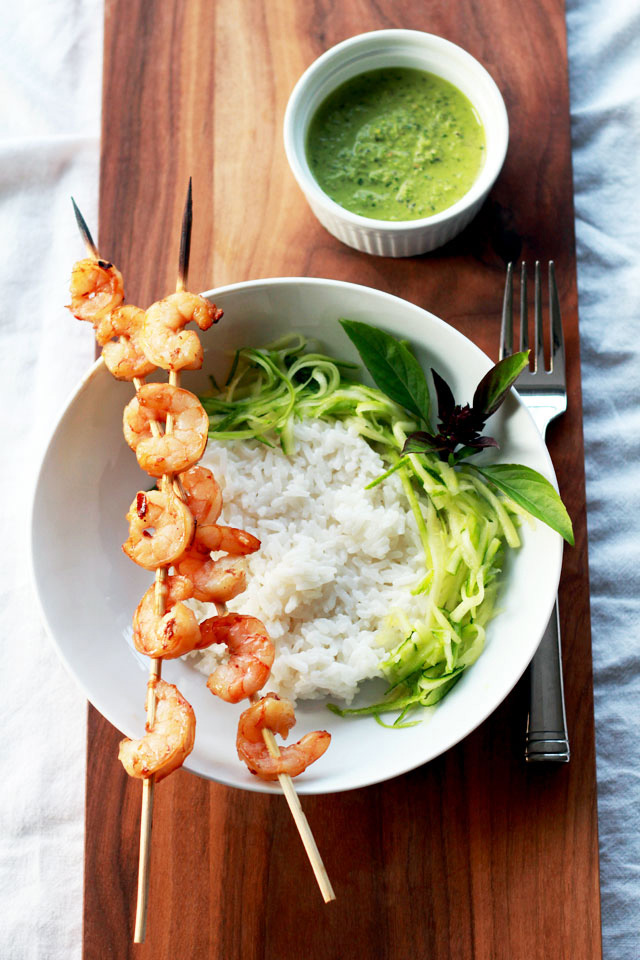
Remember the spicy Thai pesto I shared a few weeks ago? One of my favorite ways to use the pesto has been to create a bowl filled with coconut rice, grilled shrimp, and shredded zucchini and serve the pesto alongside. It’s fresh, with flavors that taste perfectly light for hot summer nights. And since rice and shrimp are always stocked in my pantry and freezer, this meal is easy to throw together for a quick weeknight dinner.
Thai Pesto Shrimp & Coconut Rice Bowl
Spicy Thai Pesto
10-12 medium shrimp, peeled and deveined
Olive oil
Low-sodium soy sauce
Half a lime
Crushed red pepper
1 cup jasmine rice
1 can light unsweetened coconut milk
1 teaspoon kosher salt
1 zucchini
For the coconut rice, rinse and drain the jasmine rice in a fine-mesh strainer. Combine rice, 1/2 cup coconut milk, 1/2 cup water and salt in a saucepan. Turn the burner to high heat and bring the contents to a boil. Stir and reduce the a low simmer, covering the pot with a lid. Cook for 15 minutes. Remove from heat and let stand another 10 minutes. Fluff with a fork and add more coconut milk and salt to taste.
Meanwhile, place shrimp in a small bowl and drizzle with olive oil, a splash of soy sauce, a squeeze from half a lime, and sprinkle crushed red pepper. Let stand to marinate for 10-15 minutes. Thread onto 4 skewers, pre-soaked in water, and grill over medium-high heat. Shred the zucchini using a hand grater.
To serve, place rice in a bowl and add shredded zucchini on the side. Serve with the shrimp still on skewers, or slide onto the other size of the bowl, opposite the zucchini. Serve the spicy Thai pesto alongside.
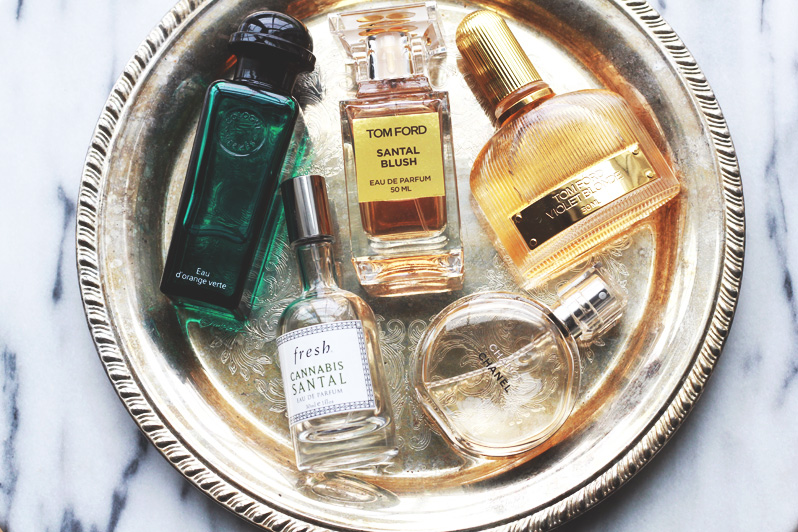
Finding my signature scent has long been an unsettled item on my life bucket list, as silly as that may sound. I’ve always had this romantic idea of someday discovering a fragrance to call my signature—an unmistakable, highly personal scent that I wear for not just years but decades, and that my husband and friends come to recognize as my own. After a great deal of exploration, I just recently landed on the one: Tom Ford’s Santal Blush. Have you found yours? I’d love to hear it! If not, I’m certainly no fragrance expert, but I thought I’d share a few of my suggestions for finding your own signature scent. Keep reading for a bit about my search and my tips…
My perfume journey has taken me years and many fragrances to find—from Clinque’s Happy in high school to Chanel Chance to Tom Ford’s Violet Blonde (and many more in between). Nothing was ever quite right. Fresh’s Cannabis Santal, which I did not realize was technically a men’s fragrance when I bought it, has been my closest match and go-to scent for the past few years. It was probably a pretty telling selection—I have a tendency to like men’s fragrances (even using my husband’s on occasion). It turns out I like spicy, wood orientals – notes like patchouli, sandalwood, bergamot. Nothing too sweetly floral, too fruity or too green.
After running out of Cannabis Santal in May, I decided to intensify my search for a potential long-term solution. I narrowed in on my fragrance family, tried on too many options to remember, and then there it was. Tom Ford’s Santal Blush is sophisticated and earthy at the same time, woodsy yet has a note of femininity too. It has an incredible lasting power—the card I first sprayed it on back in May still carries the scent. And I cannot get enough of it—I literally kept going back to that card to inhale the smell deeply while I pondered the investment…and now I’ll still sneak a smell of my inner wrist during the day. So my tips?
Get a sense of your fragrance family. The four standards are Floral, Oriental, Woody and Fresh. Then sub-groupings branch out from there. I found the Fragrance Wheel to be a good initial resource to help me narrow down the notes I already knew I was gravitating toward into a type of perfume. This helped a lot once I popped into stores, allowing me to explain what I was looking for.
But be open. If the salesperson suggests something based on your preferences, give it a smell. Don’t let fragrance notes that you have preconceived ideas about—violet is for grandmas, cedarwood is for men—deter you from giving it consideration. You may be pleasantly surprised and find something you wouldn’t have otherwise!
Break up your search. If you smell too many fragrances in one setting, your nose (and your brain!) are going to get confused. Try a handful, leave with a few sprayed on cards, then go back another day.
Find your comfort zone. Maybe it’s Sephora, where you can test at your leisure. Maybe it’s a nice department store like Saks, which has a great selection and knowledgeable associates. Or maybe your area is lucky enough to have a boutique perfumery that specializes in fragrances. It’s important to do your scent searching wherever you’re most comfortable and can get the level of assistance you need.
Let it be. Once you’ve narrowed down your choices, leave a single fragrance on your wrist for the day. Walk around, shop, run errands. See how the notes develop and meld with your skin’s chemistry. You may like it more or less, after wearing it for the day.
Consider it an investment. A signature scent is something you wear everyday. If it’s something you absolutely love spritzing on day in and day out, it will be well worth the investment in time to find it and the cost.
You are currently browsing the Perpetually Chic blog archives for August, 2013.