
Herb Garden Arrangement

My friend Sarah, from Rosehip Flora, is back today with an easy arrangement created straight from your garden.
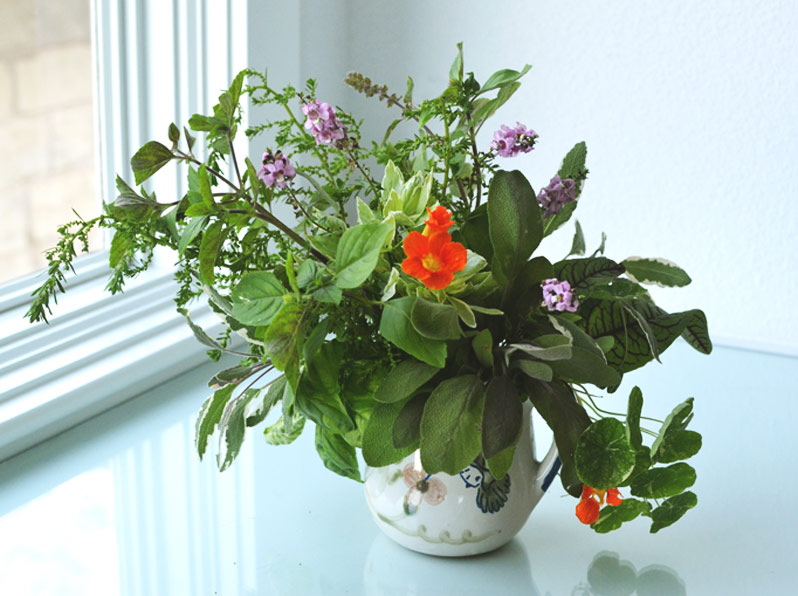
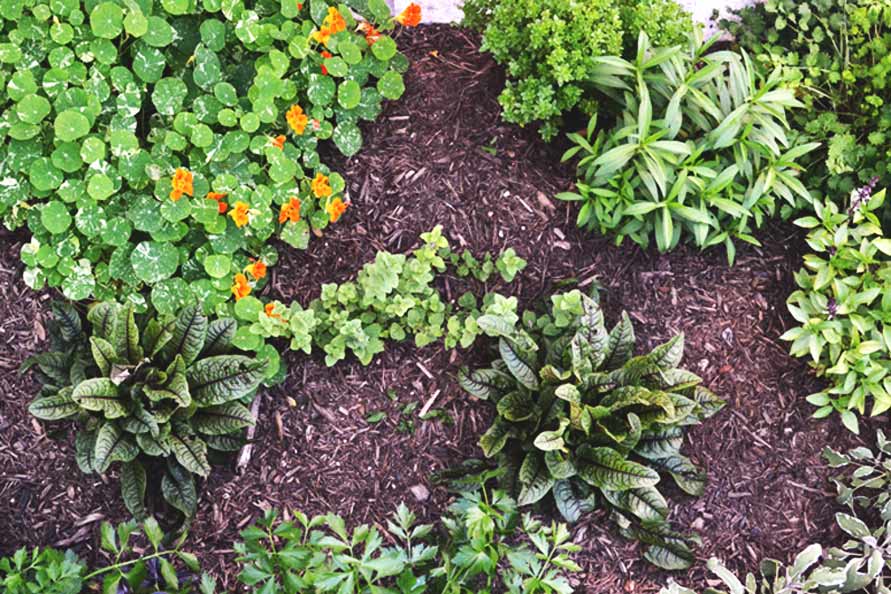
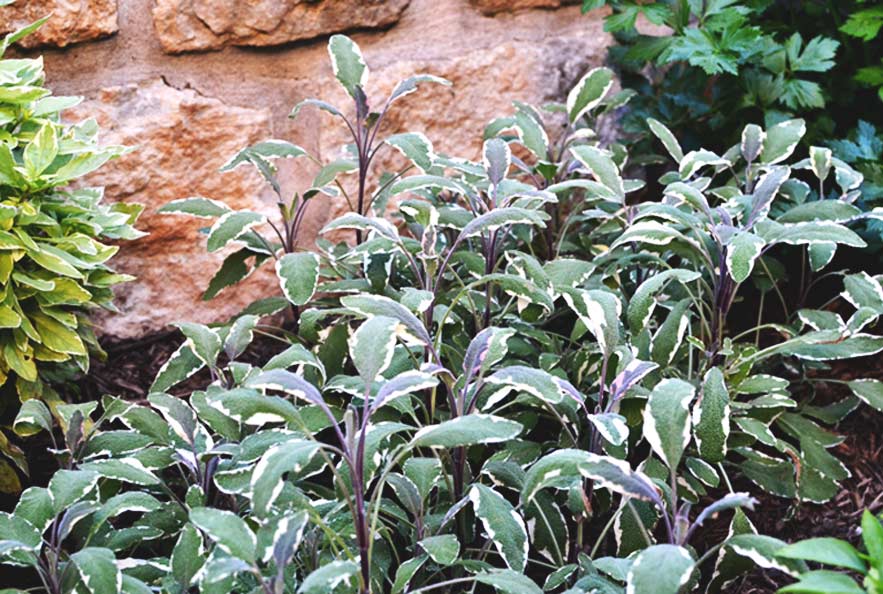
It’s starting to heat up down here in Texas, so I thought it would be a good idea to head into the garden for this month’s post. In another month it might be a little too crispy! This herb garden is compliments of my mother. My garden is growing, but she always packs in the variety. Fortunately, that is a big plus when making a fresh, herbal kitchen table arrangement. I like to keep it casual, pretty, and functional (i.e. you can cook with it!).
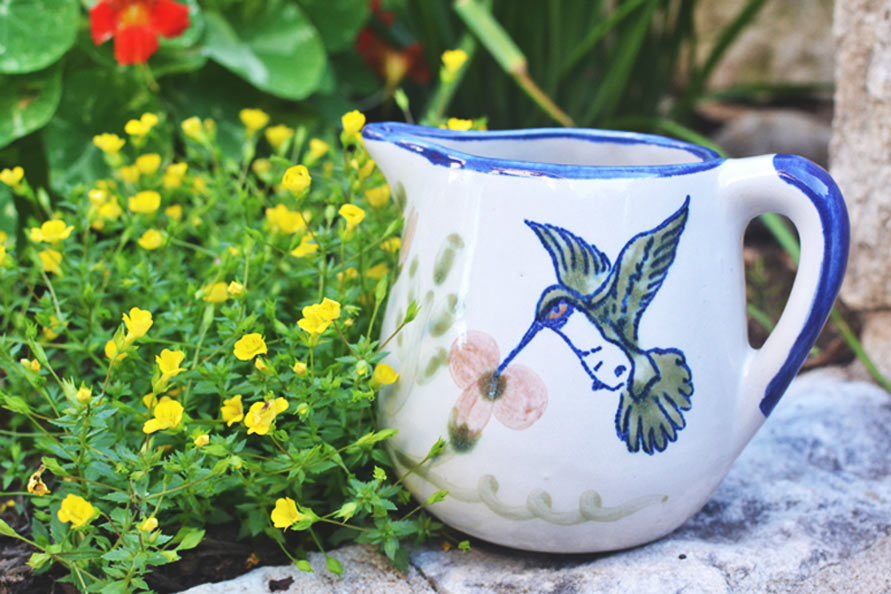
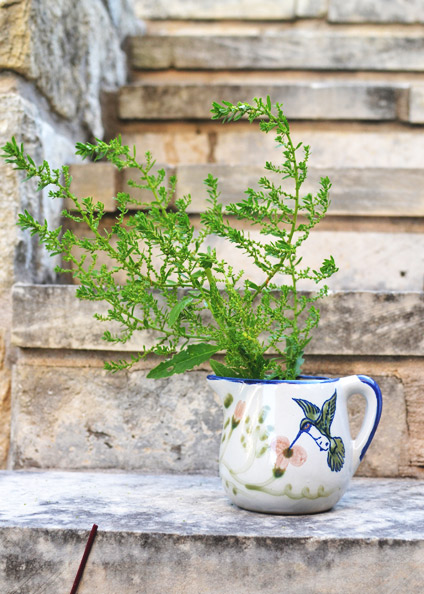
- Start out by selecting a vessel. I particularly enjoy using pitchers for kitchen arrangements. They tend to feel a little less formal than a “vase.” Perfect for long, lazy summer afternoons.
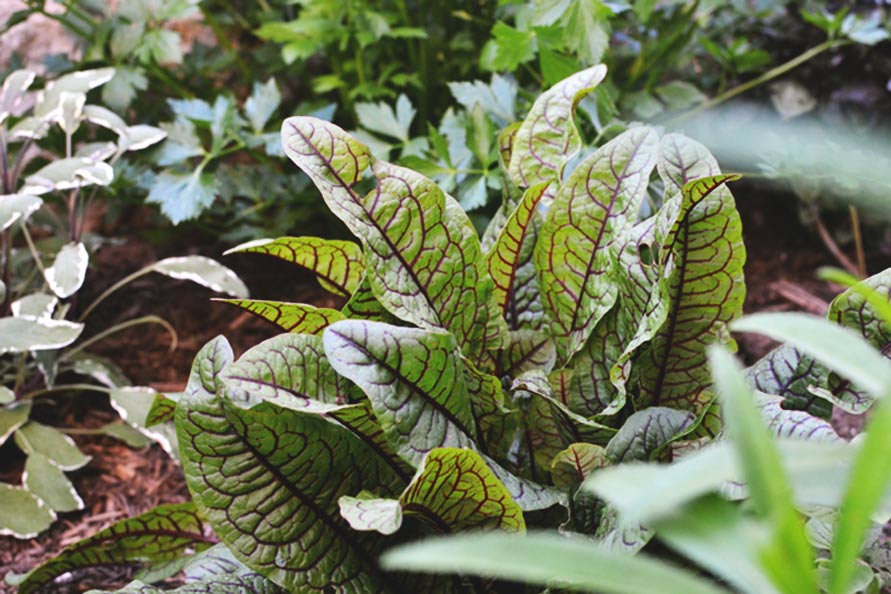
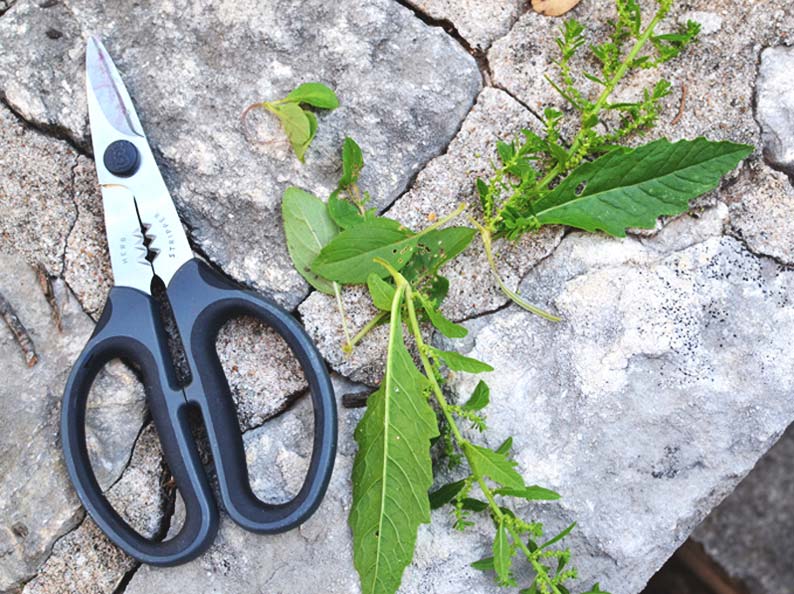
- Next cut your selection of herbs. Don’t worry about cutting them back, it will help the plants to bush out instead of get long and leggy. It is best to cut them at the point where two leaves are growing out of the stem. That will be a natural branching point for the plant when it grows back. Collecting herbs is all about textures and colors.
- Trim it. Once you have all of your pieces cut, make sure to pull off any leaves that might be a little tiered or buggy from the base. Also, it is good to leave a longer stem to sit in the water instead of submerging the leaves in water as well.
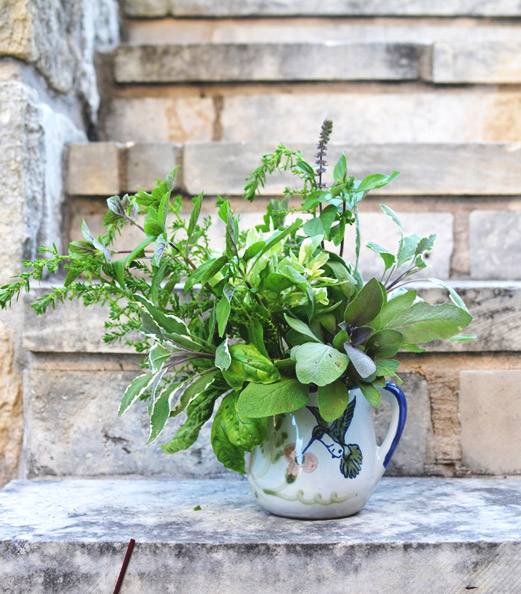
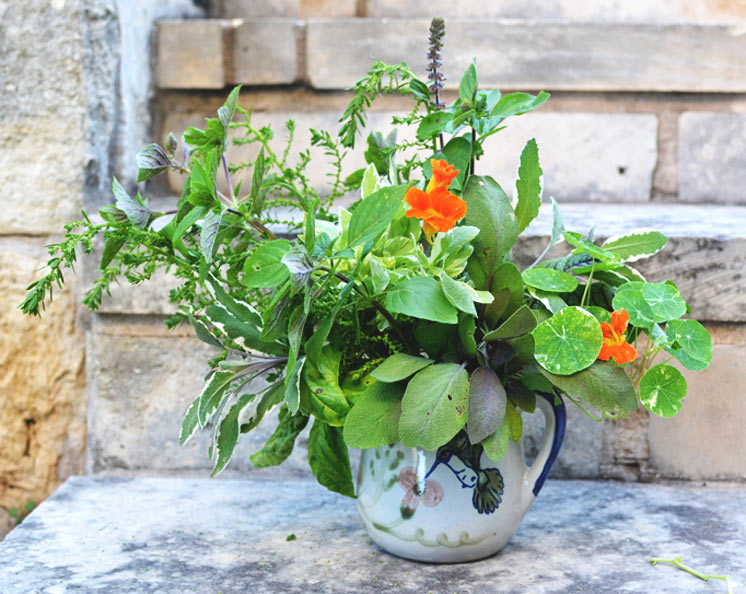
- I like to begin with one large gestural piece. Then fill in from there. If you don’t feel comfortable mixing different types up, keep likes with likes and create larger clusters of the same plant in your vase. It will give the arrangement a more clean, modern feel. Nasturtium flowers are the perfect edible floral garnish for salads by the way.
- Add color. If you are lucky enough to have a few more blooms in your garden, feel free to add in a some extra color as the finishing touch!
Post and photos by Sarah Wymer