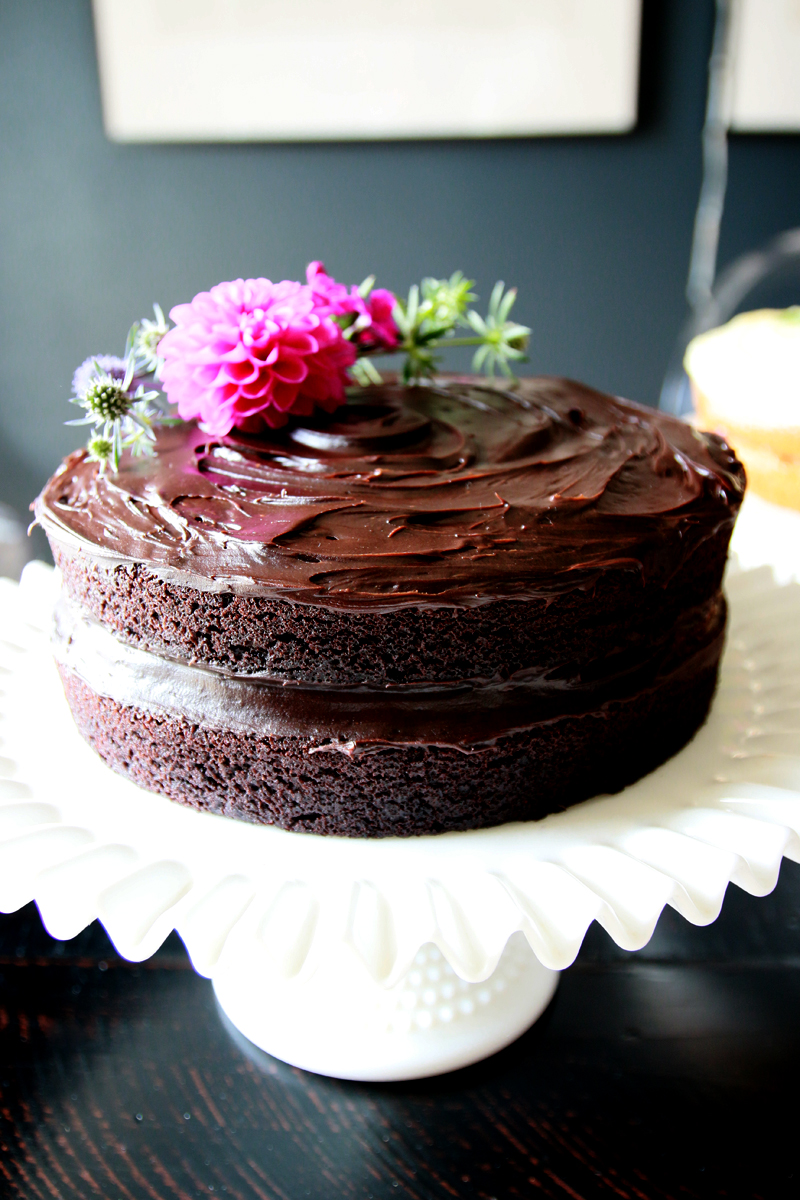
Allergy-Safe Chocolate Cake

Here’s a little treat for you today! When planning a low-key, afternoon party for Elsie’s first birthday a few weeks ago, I knew I wanted to provide a few special desserts for our guests. I wanted to keep the desserts–like the whole party–simple not fancy. But there was a catch: I needed to accommodate several allergies (dairy, eggs, nuts) and celiac disease (gluten) of friends and family. I wanted everyone to be able to enjoy some cake to help us celebrate.

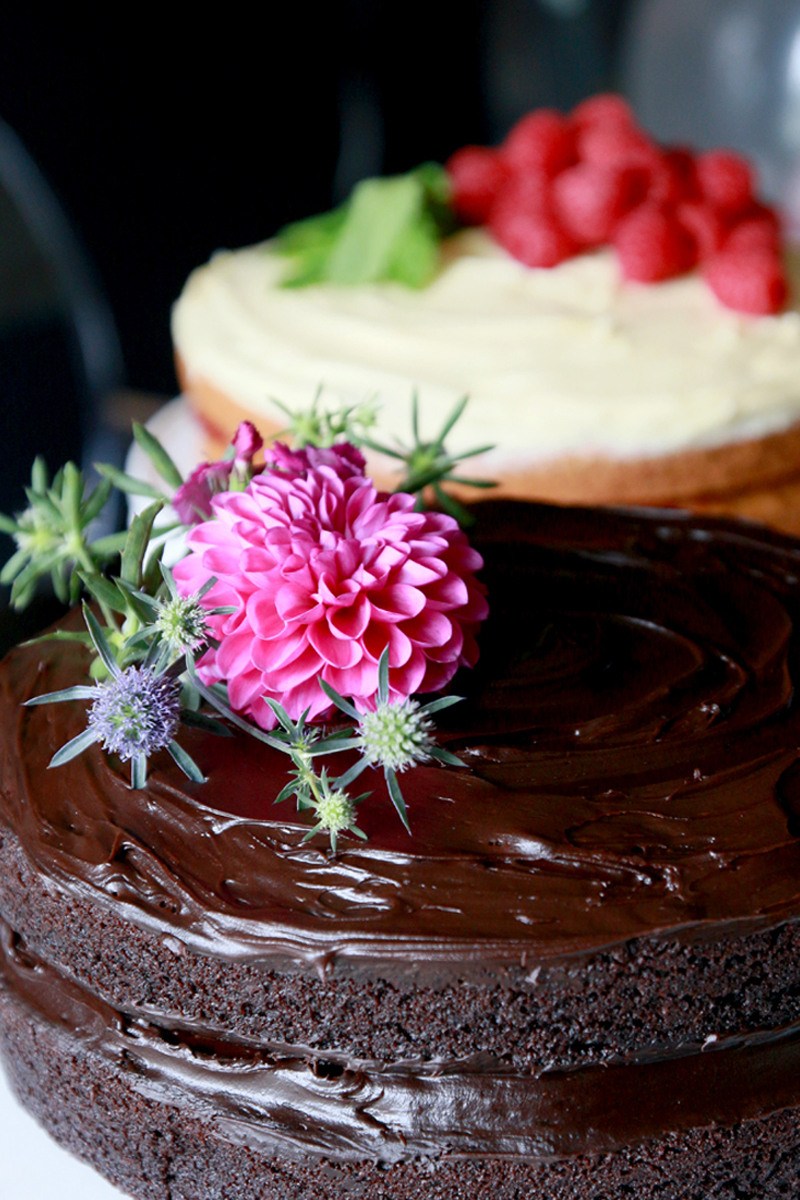
Finding allergy-friendly recipes that you can trust without testing is a challenge. I did a lot of cake research! Luckily an acquaintance came through and shared her chocolate cake recipe with me, and it was a winner. It’s moist, decadent, and dairy-, egg-, and nut-free. I substituted a gluten-free flour mix, doubled the recipe to make two 9-inch round cakes, and layered them with dark chocolate frosting and flowers on top. The cake was not only easy to make but also a hit, and even those without allergies couldn’t tell the difference! This is definitely one to file away as a must-have recipe for celebrations.

P.S. I also made a vegan vanilla cake, which I used for Elsie’s smash cake as well. Stay tuned for that recipe!

INGREDIENTS

2 1/4 cups unbleached white flour (or gluten-free flour blend)
1 1/2 cups sugar
1/2 cup cocoa
1 1/2 tsp. baking soda
3/4 tsp. salt
1 1/2 cups warm water
1/2 cup vegetable oil
1 1/2 tsp. vanilla extract
1 1/2 tsp. white vinegar
Dark chocolate frosting (homemade or a dairy-free, store-bought brand)

INSTRUCTIONS

1. Preheat the oven to 350. Wait 10 minutes before starting to make the cake.
2. Meanwhile, oil and flour 2 9-inch layer pans and set aside. When the 10 minutes are up, whisk together the flour, sugar, cocoa, baking soda and salt in a bowl.
3. Mix the water, oil, vanilla and vinegar together in a measuring cup and pour into the dry ingredients. Stir well until combined. Pour into the prepared pans and bake 25-30 minutes.
4. Cool on a wire rack 10 minutes, then remove the cakes from the pans and cool completely.
5. Once cooled, layer one cake on a cake stand, cover with chocolate frosting, place the second cake, repeat with another layer of frosting. Top with fresh flowers or berries. Enjoy!

  • share this post:
  • Meghan

    Looks delicious and beautiful Lauren. Good work!

  • Wow! This looks and sounds like delicious! I can never pass up a slice of cake. I wonder if these could translate to cupcakes…just bake them for about 20 minutes, right? They’d be perfect for my son’s pre-school Halloween party.

    Taffeta & Tulips

  • PerpetuallyChic

    Hey Kate, sorry I missed this question! They should translate well to cupcakes with the adjusted baking time…hope you gave them a try!

  • I made this cake last night for a friends Birthday and everyone was blown away 🙂 thank you for the recipe!