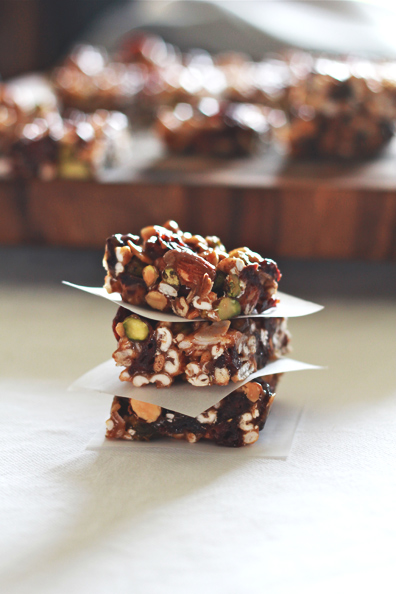
Quick show of hands: Who is guilty of skipping breakfast? When you’re dashing out the door in the morning to work, school, or to drop the off kids, breakfast can be the last thing on your mind. Yes? It happens more often than I care to admit, but these breakfast bars are my new time-saving trick. Just whip up a batch over the weekend, and you’re set for the week. To be clear, these bars are packed with some healthy ingredients like raw almonds, pistachios, and dried cherries. And while they may be better for you than many store-bought granola bars, they’re certainly not free of sugar. That said, they strike that just-right balance of sweet and salty, chewy and crunchy that I love in a snack…
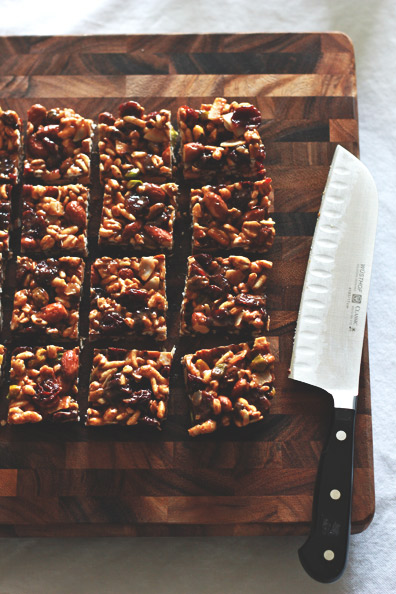
I used almonds, pistachios, dried cherries, and toasted coconut flakes for my fruit and nut mix. You can also change things up using this same basic recipe–try dried cranberries and walnuts or dried apricots and cashews instead. These bars do have a tendency to stick together, so be sure to layer parchment paper in between the cut squares when you store them.
Cherry, Pistachio & Coconut Breakfast Bars
1 1/2 cups puffed brown rice cereal (I used Kashi brand)
1 cup whole almonds
1/2 cup raw pistachios
1 cup dried cherries
1/2 cup unsweetened large coconut flakes, toasted
1 teaspoon unsalted butter, plus 2 tablespoons
1/2 cup brown rice syrup (carried at Whole Foods)
1/4 cup unsalted almond butter
2 tablespoons light brown sugar
1/4 teaspoon salt
Line an 8-inch baking pan with aluminum foil. Leave a few inches overhanging. Grease with 1 teaspoon butter. This allows easy removal later. In a large bowl, combine cereal, nuts, cherries and coconut flakes. Heat a saucepan over medium heat. Stir together brown rice syrup, almond butter, brown sugar, salt and 2 tablespoons of butter. Mix until smooth, allowing to simmer and cook just a minute. Immediately pour the hot mixture into the bowl with the cereal mixture. Use a wooden spoon to mix everything until evenly coated. Pour the mixture into the pan. Press the mixture evenly with your hands. It will be very sticky! Refrigerate the bars in the pan about 1 hour to set. Lift the foil to remove the bars from the pan and transfer to a cutting board. Using a sharp knife, cut the bars into 2-inch squares (small bars). Place the bars in an airtight container with sheets of parchment paper in between each layer of bars. Store in the refrigerator for a week.
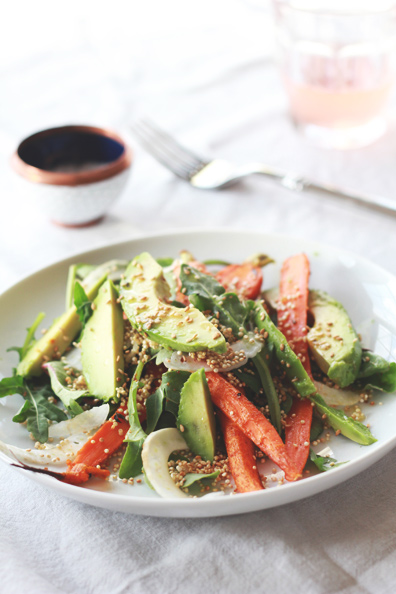
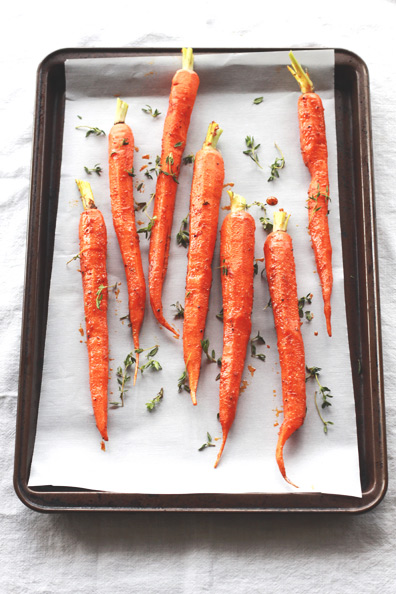
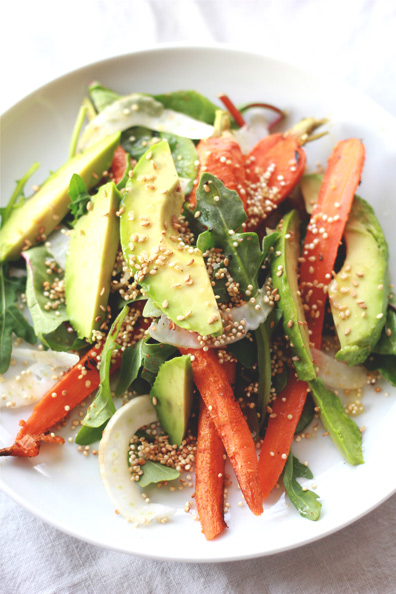
A couple weeks ago during our anniversary getaway to Chicago, we had the pleasure of eating the most delicious roasted carrot and avocado salad not once, but twice. This heavenly salad graced the menu of both the Pump Room and The Purple Pig, and there was no stopping me from ordering it the second time after the first taste. I really can’t pick favorites, but I did snap a photo of the Purple Pig’s version so I could recreate it at home. Flavorful roasted carrots, creamy avocado, crisp fennel, crunchy toasted quinoa and seeds, plus juicy bites of citrus and a matching vinaigrette? This is one salad that won’t leave you hanging on texture and flavor. Keep reading for my recipe!
Roasted Carrot, Avocado & Toasted Quinoa Salad
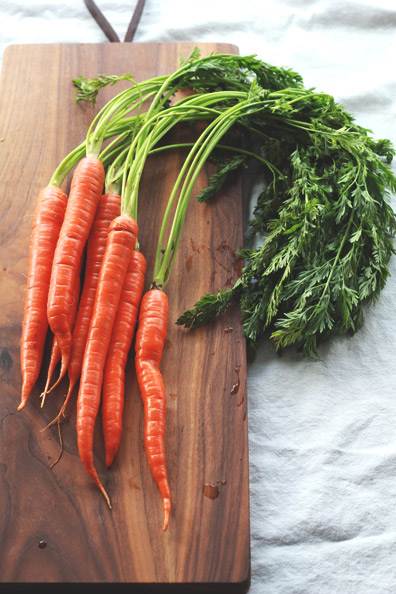
1 bunch of small carrots, peeled and some stem left on tops
2 tablespoons of olive oil + 2 tablespoons
1 teaspoon ground cumin
1/2 teaspoon paprika
Coarse sea salt and freshly ground pepper
A few sprigs of fresh thyme
1 cup quinoa
1 avocado, cut into slices
1/2 small fennel bulb, shaved using a mandoline or very thinly sliced
Juice of half a lemon
Juice of half a blood orange + other half sliced
A few handfuls of mache and arugula
Toasted sesame seeds
Preheat oven to 375 degrees. In a bowl, drizzle carrots with 2 tablespoons of the olive oil and sprinkle with the cumin, paprika, salt and pepper. Using your hands, toss the carrots to evenly distribute the spices onto each. Transfer carrots to a parchment-lined baking sheet. Sprinkle with the leaves from several sprigs of thyme. Roast 25 minutes until tender. Immediately out of the oven, slice any of the larger carrots in half lengthwise.
Meanwhile, place quinoa in a bowl and add water to soak for a few minutes. Drain using a fine-mesh sieve, rinse with fresh water and drain thoroughly. Heat a saute pan over medium-low heat and add the wet quinoa. Stir with a wooden spoon until quinoa dries–it will pop, begin to brown and smell nutty. Remove from the heat and let cool.
To create the dressing, squeeze juice from half a lemon and half a blood orange into a bowl. Whisk in 1-2 tablespoons of olive oil to taste. Season with salt and pepper. Place a handful of greens on two plates, top with the roasted carrots, fennel, avocado and blood orange slices, and sprinkle with the toasted quinoa and seeds. Drizzle with the citrus dressing and serve with Maldon sea salt flakes.
The onset of summer makes me immensely happy for many reasons. Warm-weather dressing is a big relief for me because I feel most in my element–since I didn’t grow up living through cold winters, all that layering and bundling up just feels less natural to me. Right now I can’t get enough of printed and embellished tops, like this collarless tunic, paired with white skinny jeans and flat sandals. It’s a simple equation for early summer and looks equally polished for running errands around town or heading over to a friend’s home for dinner. What are your summer wardrobe staples? I’d love to hear!
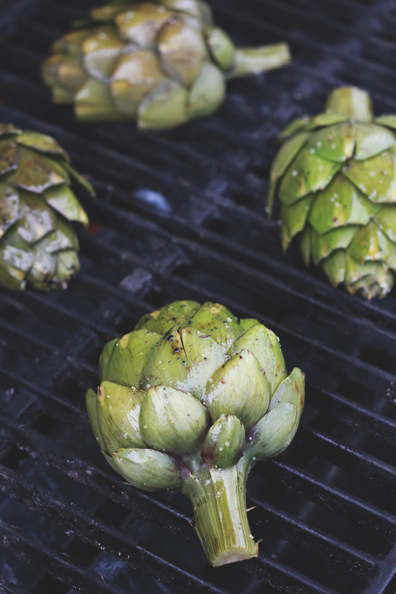
I’m sharing today’s recipe by popular request on Instagram, but I’ll be the first to admit: My initial attempt at grilling artichokes might have looked great in the photo I shared a few weeks ago, but it was not a success by any means. In fact, they were a royal pain to eat and almost not worth the effort. It’s probably been 12 years since I’ve had fresh artichokes (my mom used to steam them), and I completely forgot about their hazards. Namely those pointy ends! Not only did I leave them on, causing us to poke ourselves as we tried to get to the meat, but I also forgot to scoop out the fibrous choke. It was a little bit of a disaster, not to mention my first attempt at aioli left me feeling like I was just missing something…
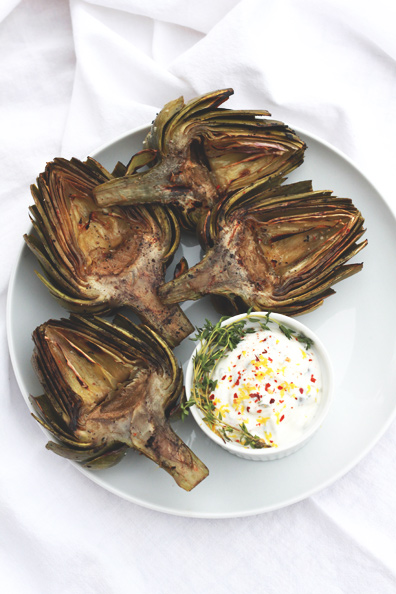
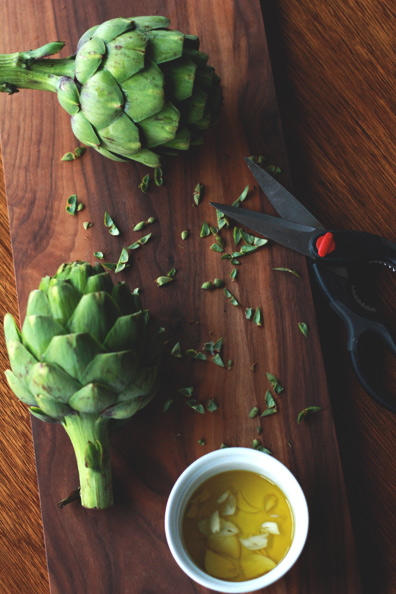
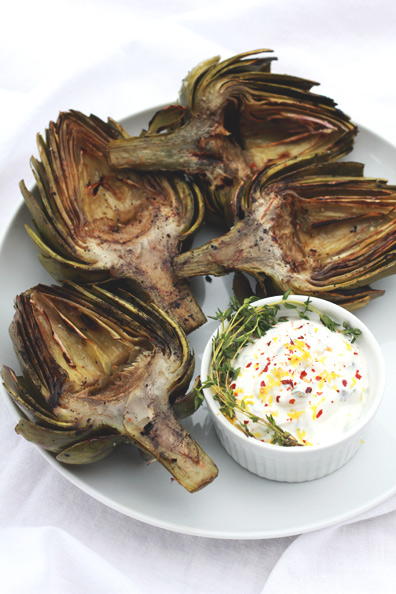
I’m happy to report I went back to the drawing board last night, determined to perfect grilled artichokes and make a worthy aioli to accompany them. This time I snipped off those sharp ends, cleaned out the middles, and slathered them with garlic-infused olive oil before grilling. Now when you pick one up, hot off the grill, you can simply peel back each leaf to scrape off the meat with your teeth and work toward that prized heart without getting attacked in the process. Oh, and the aioli turned out reaaallly good too. Keep reading for the recipe!
Grilled Artichokes with Lemon-Thyme Aioli
2 large artichokes
Juice of half a lemon
2 tablespoons of olive oil
1 clove of garlic, cut into slices
Sea salt
Freshly ground black pepper
For the aioli:
1/4 cup Greek yogurt
1/4 cup sour cream
1/4 cup mayo1 teaspoon of dijon mustard
Juice of half a lemon
1 clove of garlic, minced
2 tablespoons of capers, drained
2 teaspoons of fresh thyme, chopped
1 tablespoon of fresh flat-leaf parsley, chopped
Red pepper flakes
Sea salt
Freshly ground pepper
Combine olive oil and one clove of garlic in a small prep bowl. Let the garlic infuse into the olive oil as you prepare the artichokes. Bring a large pot of salted water to a boil. Fill a large bowl with water and squeeze in the juice from one half of a lemon; throw in the lemon half. Working one artichoke at a time, trim off the sharp tops of each leaf. Cut off the bottom 1/2-1 inch of the stem. Cut the artichoke in half lengthwise through the stem. Scoop out the choke (fluffy fiber as well as the super thin leaves in the middle). Add each artichoke half to the lemon water to prevent browning as you continue to trim the next artichoke. Drain the artichokes and transfer to the pot of boiling water. Cook until tender but not falling apart, 10-15 minutes. Immediately drain and rinse with cold water to cool down. Transfer to a baking dish.
Meanwhile, combine Greek yogurt, sour cream, mayo, dijon and lemon juice in a bowl. Fold in garlic, capers, thyme and parsley. Season generously with red pepper flakes (I used a lot), then salt and pepper. Mix well. Garnish with lemon zest, a thyme sprig and extra red pepper flakes. Brush the garlic olive oil on each side of the artichokes. Season with salt and pepper. Heat a grill over medium-high heat. Grill the artichokes, about 3 minutes per side, until charred. Transfer artichokes to a plate and serve with the lemon-thyme aioli.
My friend Sarah, from Rosehip Flora, is back today with an easy arrangement created straight from your garden.
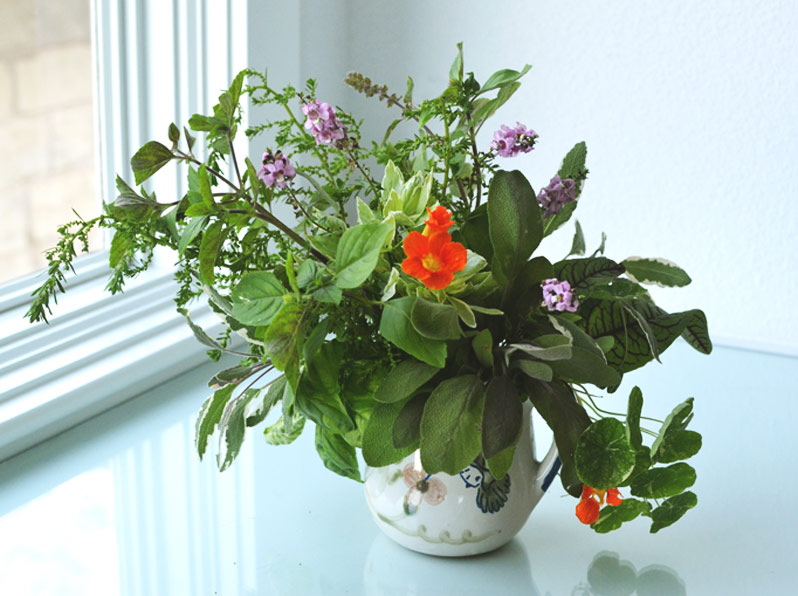
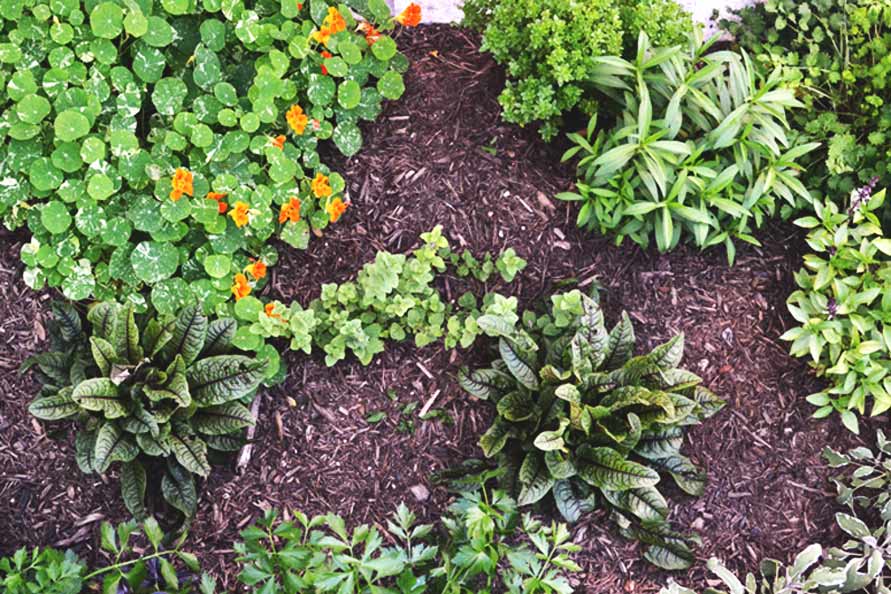
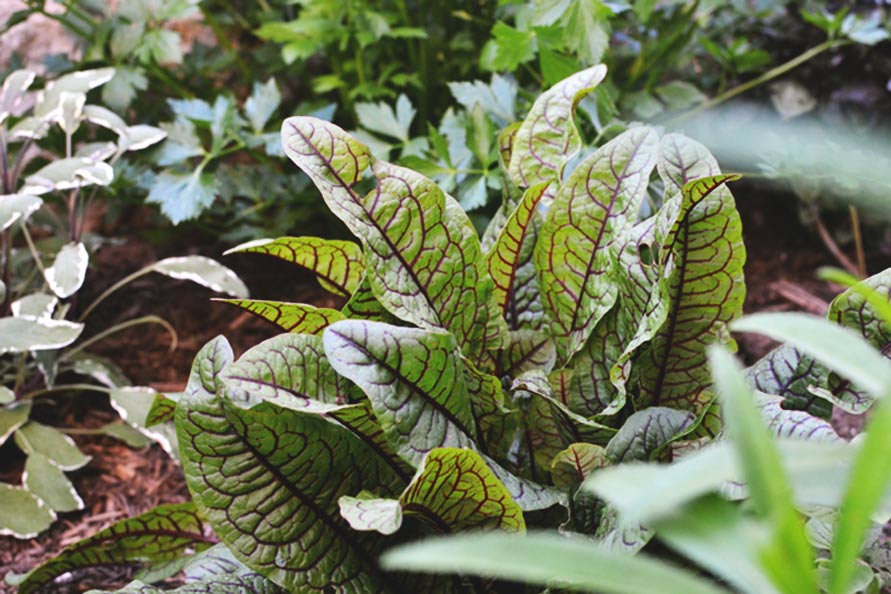
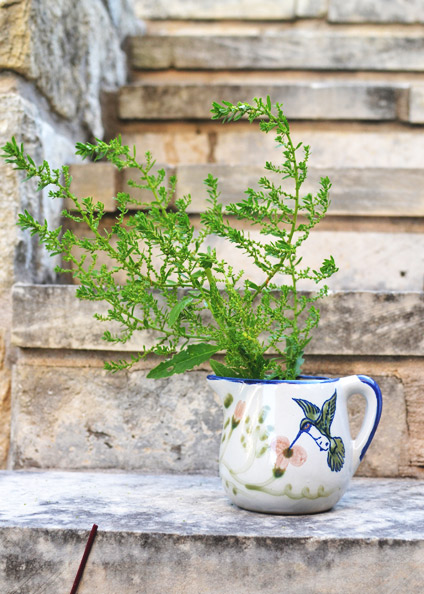
It’s starting to heat up down here in Texas, so I thought it would be a good idea to head into the garden for this month’s post. In another month it might be a little too crispy! This herb garden is compliments of my mother. My garden is growing, but she always packs in the variety. Fortunately, that is a big plus when making a fresh, herbal kitchen table arrangement. I like to keep it casual, pretty, and functional (i.e. you can cook with it!).
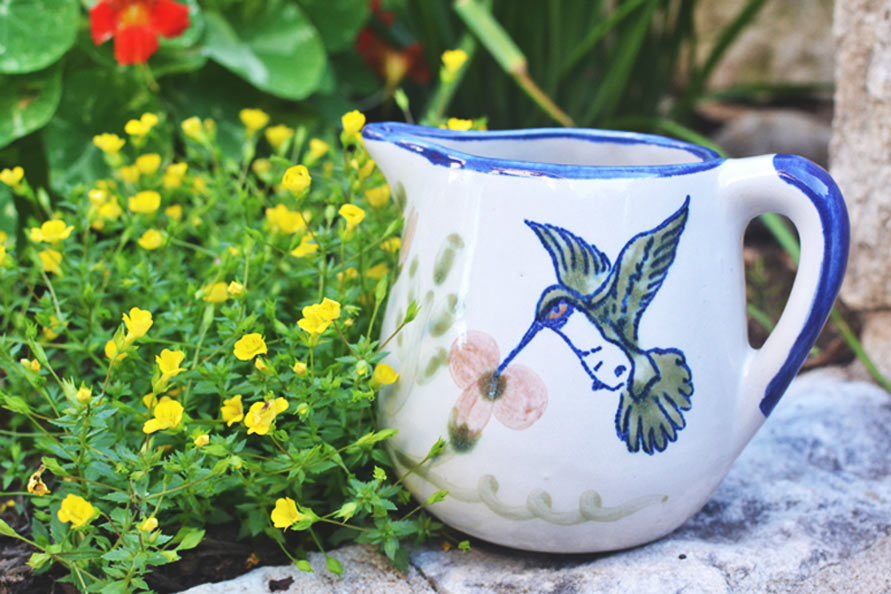
Start out by selecting a vessel. I particularly enjoy using pitchers for kitchen arrangements. They tend to feel a little less formal than a “vase.” Perfect for long, lazy summer afternoons.
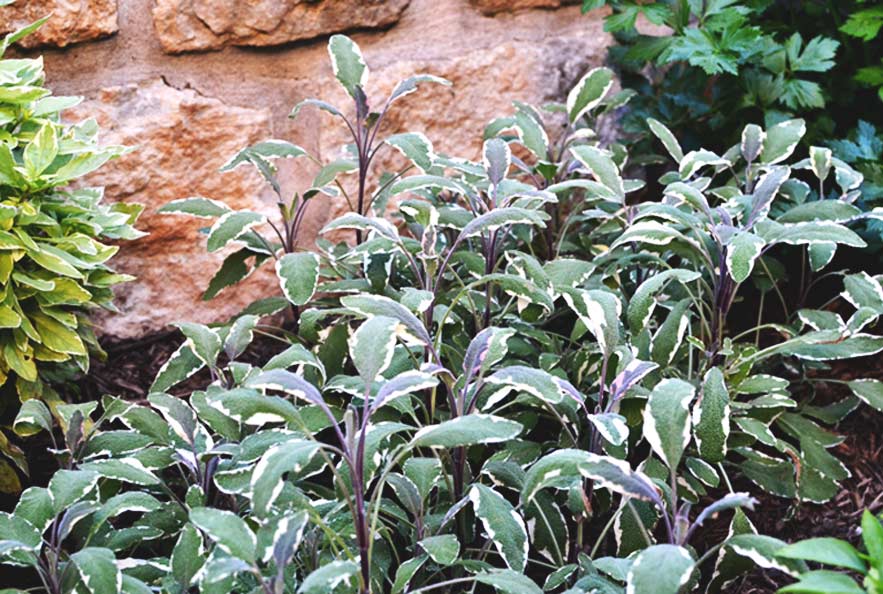
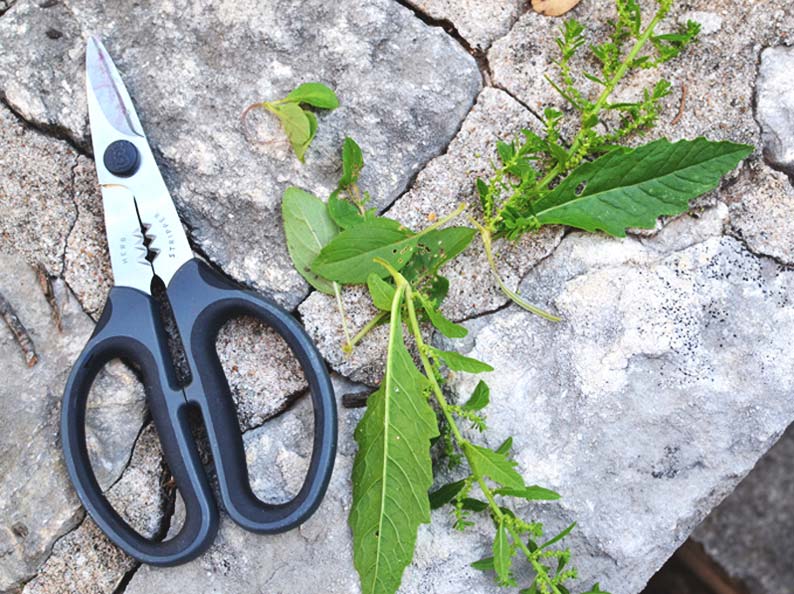
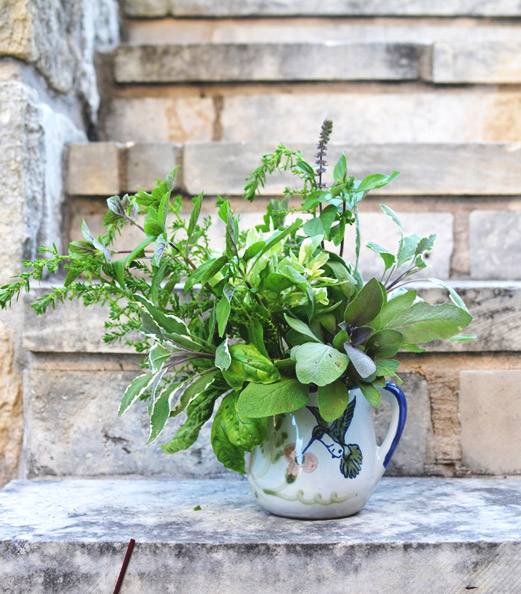
Next cut your selection of herbs. Don’t worry about cutting them back, it will help the plants to bush out instead of get long and leggy. It is best to cut them at the point where two leaves are growing out of the stem. That will be a natural branching point for the plant when it grows back. Collecting herbs is all about textures and colors.
Trim it. Once you have all of your pieces cut, make sure to pull off any leaves that might be a little tiered or buggy from the base. Also, it is good to leave a longer stem to sit in the water instead of submerging the leaves in water as well.
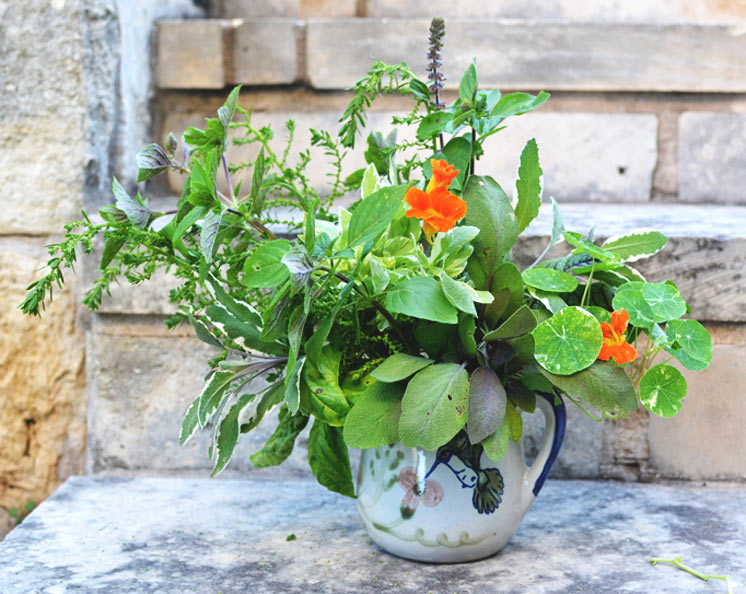
I like to begin with one large gestural piece. Then fill in from there. If you don’t feel comfortable mixing different types up, keep likes with likes and create larger clusters of the same plant in your vase. It will give the arrangement a more clean, modern feel. Nasturtium flowers are the perfect edible floral garnish for salads by the way.
Add color. If you are lucky enough to have a few more blooms in your garden, feel free to add in a some extra color as the finishing touch!
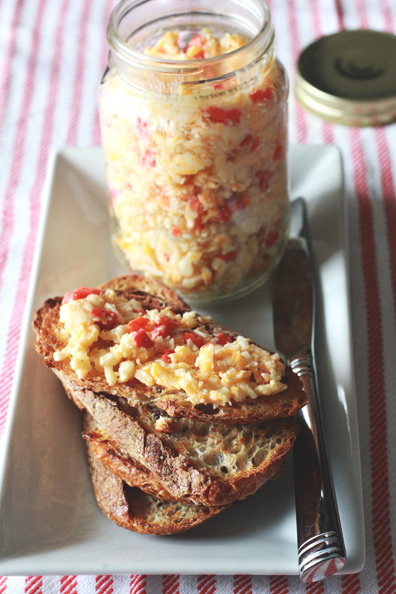
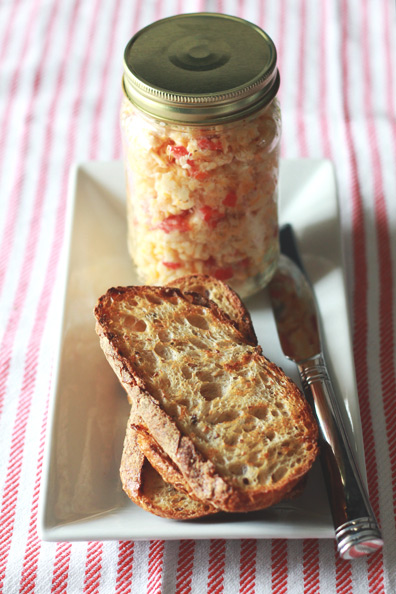
Believe it or not, I never ate pimento cheese growing up, despite it being such a classic Southern thing. I remember my cousins did, and my husband did, but not me. The common recipes you’ll find are pretty simple, and it’s most often eaten as a sandwich. We recently made pimento cheese at home, and I like this recipe because it melds three different cheeses for an upgraded flavor profile. Spread across crunchy crostini, it’s a tasty treat alongside tomato soup or all on its own. Read on for the recipe!
3/4 pound sharp cheddar, grated
1/2 pound smoked Gouda, grated
1/2 pound Colby Jack, grated
1/3 cup light mayo
1 4-ounce can pimentos, drained and diced
2 tablespoons finely chopped green olives
2 teaspoons olive juice (from the jar of olives)
1 teaspoon garlic powder
1 teaspoon onion powder
1 teaspoon black pepper
Kosher salt
French bread, sliced thinly and grilled or baked until very firm
In a large mixing bowl, mix cheddar, Gouda, and Colby Jack cheeses. Fold in the mayo, pimentos, olives, olive juice, garlic powder, onion powder and pepper. Season with salt. Transfer to a small mason jar and refrigerate for at least 30 minutes to firm up a little. The pimento cheese will last up to 1 week. Stir well before serving, spreading the pimento cheese on fresh slices of crostini.
You are currently browsing the Perpetually Chic blog archives for June, 2013.