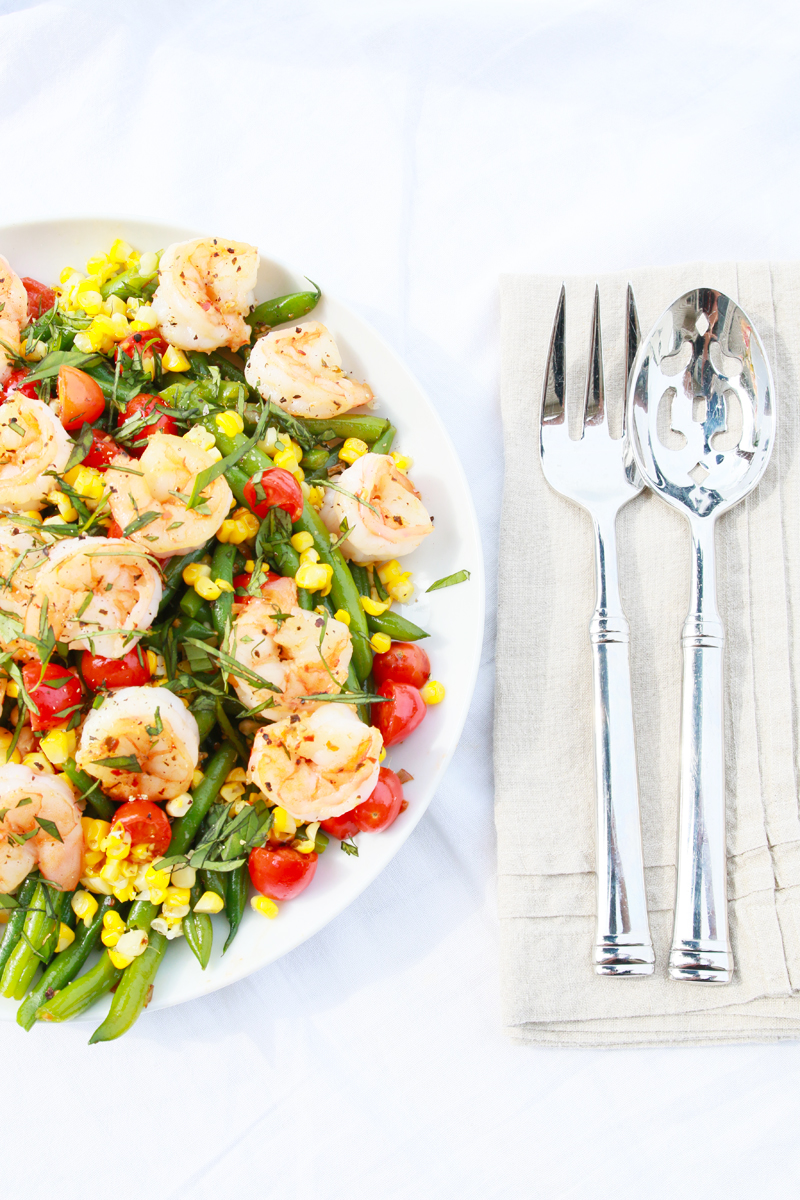
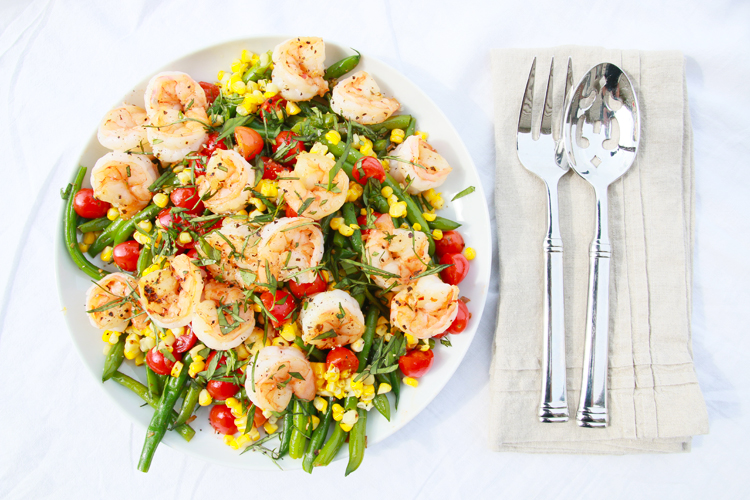
One of our annual summer traditions is to take a picnic dinner, bottle of wine, and big blanket downtown for Madison’s Concerts on the Square–a series of weekly concerts by the symphony orchestra. Everyone flocks to the grassy lawn surrounding the state capitol to enjoy some time unplugged with family and friends, and it’s an incredible sight to see locals of all ages out for the evening. Last night we decided to break Elsie’s bedtime and take a midweek break for her first concert experience, and I quickly whipped together this fresh, healthy summer dinner to take along. It was easy and quick to make…I just grabbed some in-season ingredients from the grocery store and threw them together. This is easily one of my new favorite summer meals and would also work well for entertaining. You can grill the shrimp or simply stir fry it in a pan instead, either works.
INGREDIENTS
8 wooden skewers
1 pound fresh green beans, washed and trimmed
1/2 a shallot, minced
1 clove of garlic, minced
1 pound large-size (16/20 ct.) raw shrimp, peeled and deveined
2-3 ears of fresh corn, husked
1 pint of sweet cherry tomatoes, halved
2 tablespoons of basil, thinly sliced
Kosher salt and coarse-ground black pepper
Crushed red pepper flakes
Dried oregano
Extra-virgin olive oil
INSTRUCTIONS
1. Do ahead: Soak wooden skewers in water for 30 minutes (if using).
2. Place shrimp in a bowl and season well with salt, pepper, red pepper flakes, and oregano. Drizzle with olive oil and toss to combine. Thread shrimp onto skewers, if grilling. Set aside.
3. Heat a grill to medium-high heat. Place corn on the grill and cover, turning occasionally until the corn is charred on all sides, about 10 minutes. Set aside until cool enough to handle, then use a knife to cut the kernels off each husk.
4. Cook green beans in a large pan filled with an inch of water, covered, about 4 minutes or until crisp-tender. Drain green beans into a colander and rinse with very cold water to stop the cooking process, tossing to make sure all beans get cooled. Drain well.
5. Reheat the pan used to cook the green beans. Drizzle with olive oil and quickly brown the minced shallot and garlic, just a minute or two. Add the green beans and stir well, coating with the shallot and garlic and warming (but not cooking) for a minute or so. Transfer green beans to a bowl or platter.
6. Toss the halved cherry tomatoes into the same pan used to cook the green beans. Cook over medium-high heat for a few minutes, tossing occasionally, just until the tomatoes are warmed and start to soften. Add to the bowl of green beans.
7. Meanwhile, cook shrimp over medium-high heat, whether on the grill or on the stovetop. Turn once, until shrimp turn pink. If skewered, remove shrimp from skewers once cooked.
8. Add the grilled corn and shrimp to the green beans and tomatoes. Sprinkle with fresh basil and finish with freshly ground black pepper and salt.
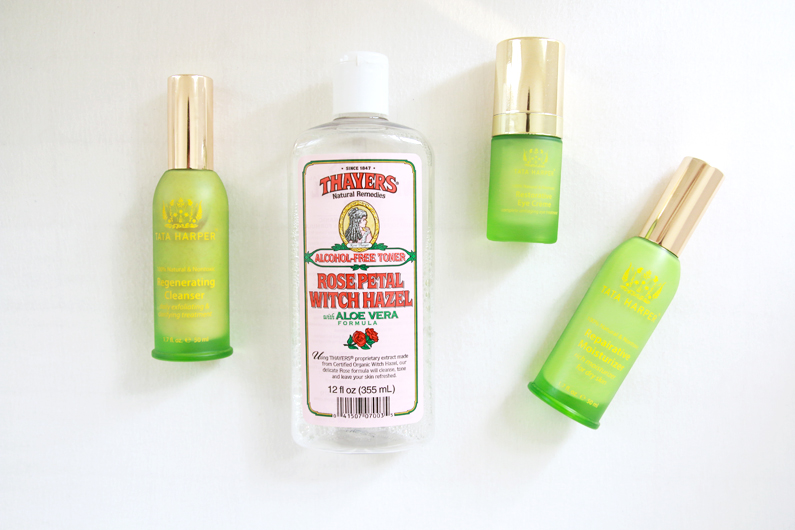
After years of regularly sampling new beauty products and switching up my skincare regimen on a whim, I slowly started to want something more. Better, cleaner products with ingredients I could understand. Less products for a quick-yet-effective routine I could count on every day. Especially as a new and working mom, I immediately found myself with only a few minutes to get ready each morning before running out the door. So I simplified my skincare strategy. Of course, there’s no one-size-fits-all solution since we all have different skin, but these 3 steps helped me get back to basics, identify products I truly need (and truly love), and keep my skin in the best condition.
EVALUATE WHAT YOU NEED
There’s a beauty product for everything. Hone in on the problems you actually have. My main concern? Dry skin. So I sought out the best products to keep my skin moisturized and glowing, and I eliminated other products focused on pores, dark spots, wrinkles, etc. taking up unnecessary space on my bathroom counter.
ELIMINATE EXTRA STEPS
Because my skin leans toward dry, I don’t need to wash it twice a day. So I wash my face only at night, and in the morning I swipe on an alcohol-free toner for a fresh base before applying moisturizer and a quick bit of makeup. I also love the idea of serums and know many people swear by them, but for now I have been skipping that step — until someone convinces me otherwise!
These days I am in and out of the bathroom in minutes, my countertop is less cluttered, and I know I’m achieving clean, fresh, and hydrated skin in a flash. Feels good!
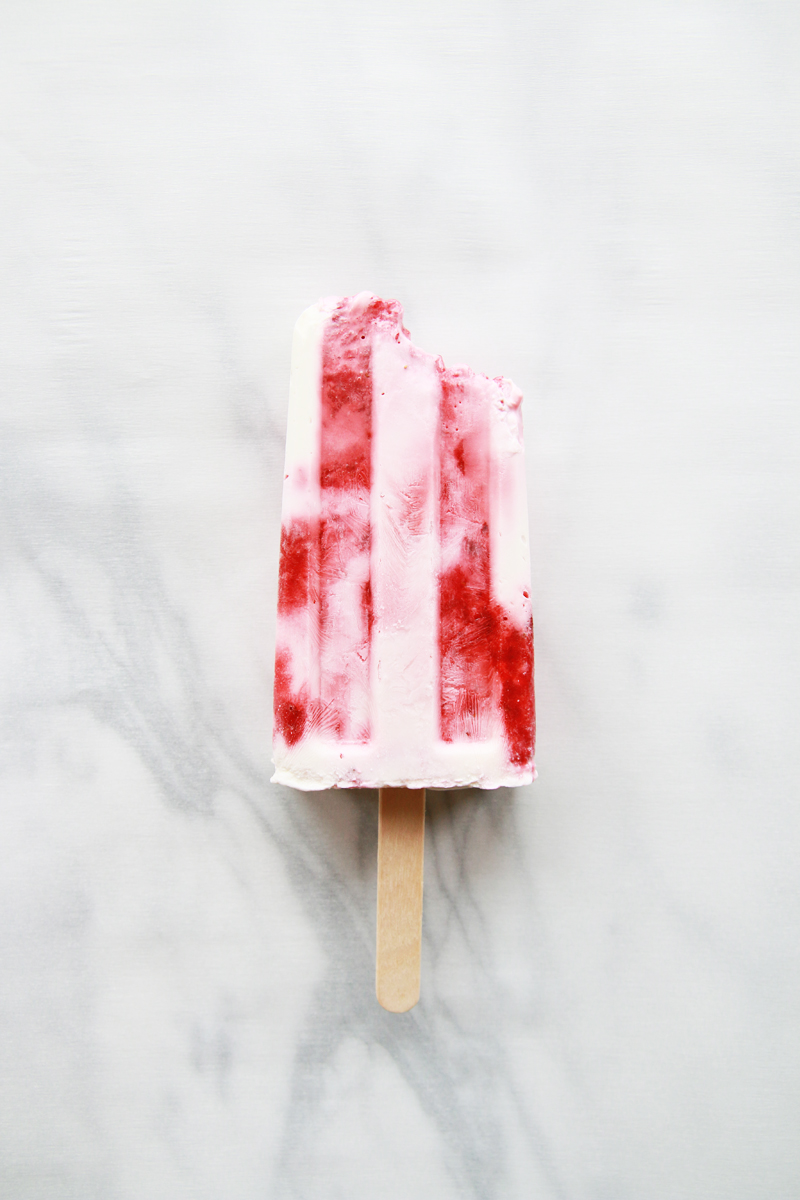
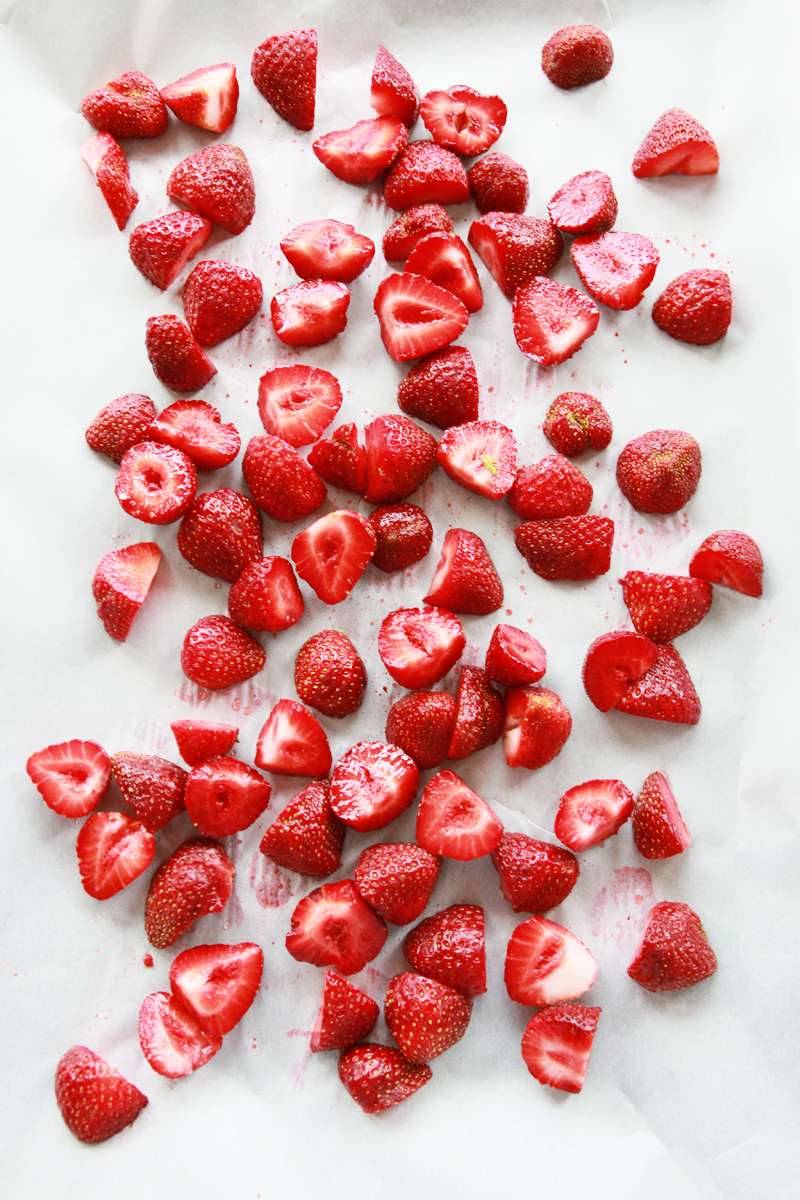
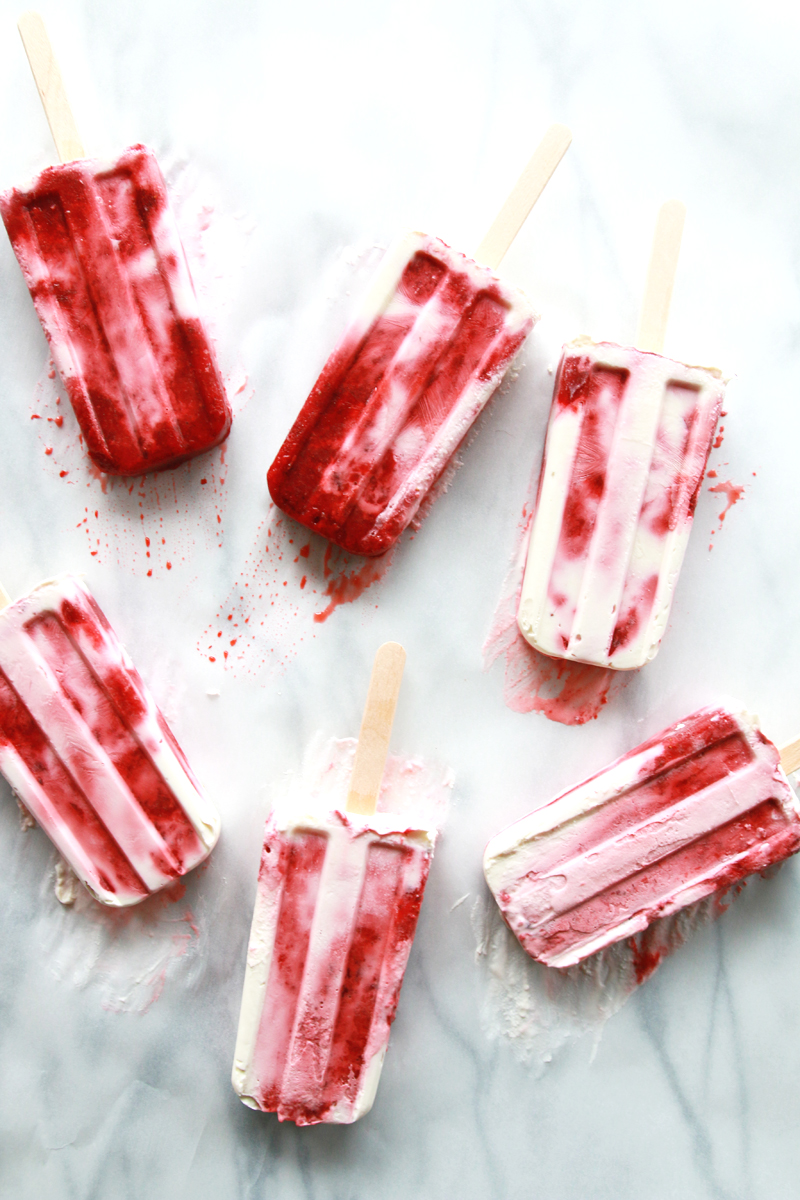
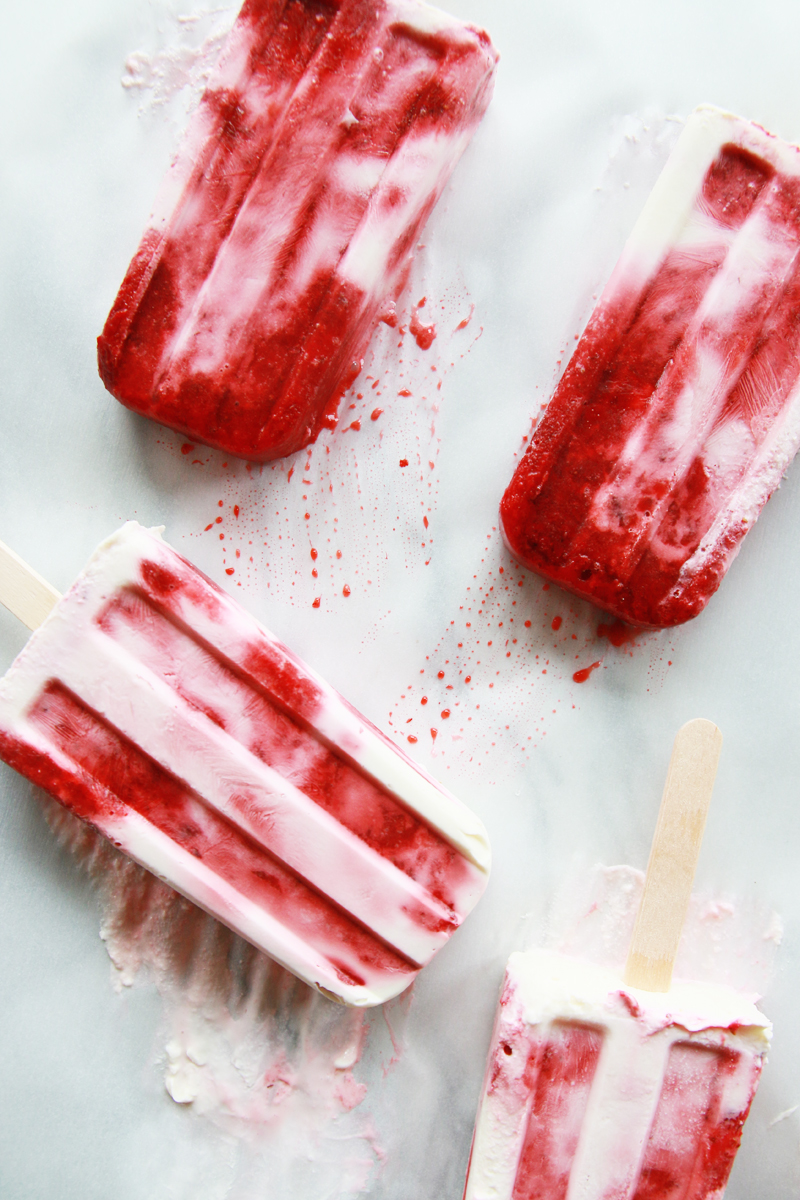
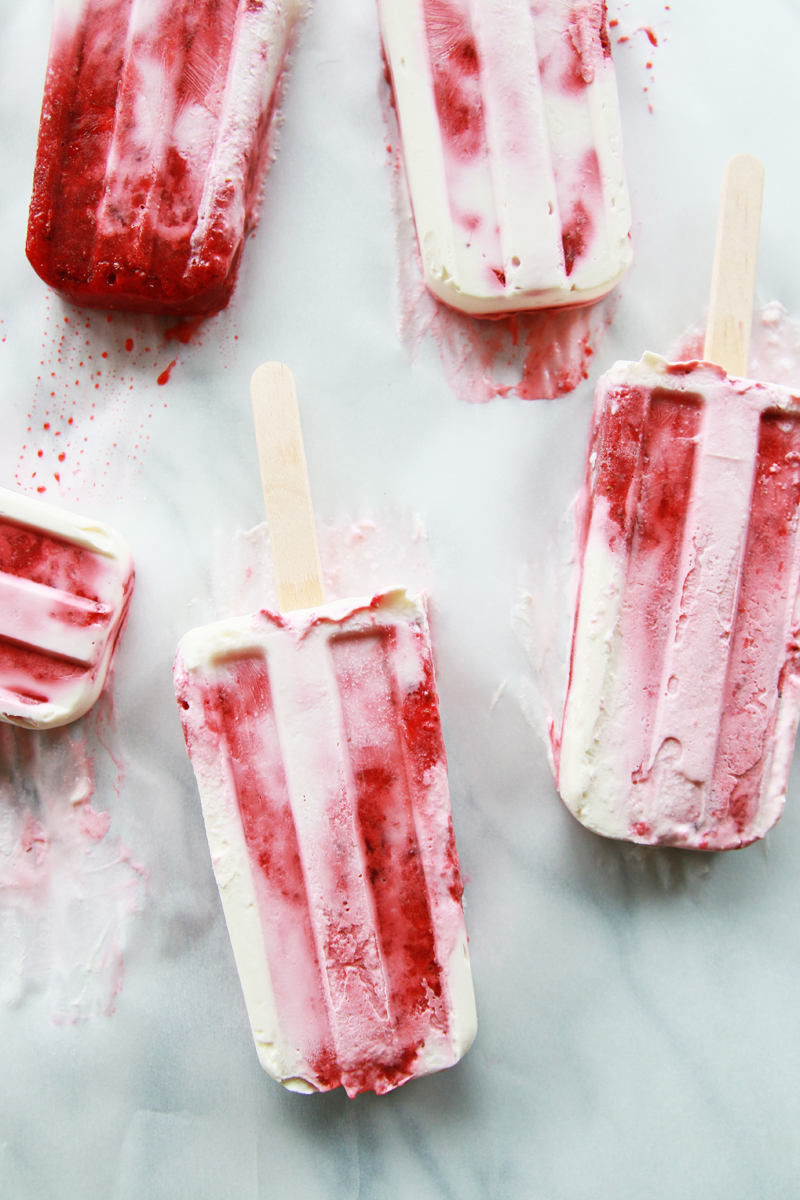
These warm days of summer call for indulging in sweet, cold treats, so I broke out the popsicle mold and created a batch of the most-delicious strawberry and cream pops. It was a perfect way to use some more of those ripe, juicy sweet strawberries I picked, and they’re unbelievably simple to make. No added sugar, no eggs, no thickeners. Just roasted berries blended into a thick fruit puree and swirled with crème fraîche laced with a bit of vanilla. The result is a creamy, sweet and slightly tangy popsicle — basically summer on a stick! They turned out beautifully, and they’re every bit as easy to prepare as the strawberry quick jam.
Roasting the berries really brings out the strawberry flavor as they caramelize; the rich crème fraîche adds a very subtle tang (you could easily use Greek yogurt or full-fat coconut milk instead). The hardest part is waiting for the popsicles to fully freeze, but the wait is well worth it.
INGREDIENTS
1 pound strawberries, hulled and halved
1 7-oz. container crème fraîche
2-3 tablespoons milk
1 teaspoon pure vanilla extract
INSTRUCTIONS
1. Preheat oven to 375 degrees. Line a sheet pan with parchment paper and spread strawberries in an even layer. Roast until the berries are soft, about 20 minutes. Let cool on the pan, then transfer to a food processor or blender. Pulse just a few times (about 4-5 pulses) to create a mixture that is still a bit chunky.
2. In a small bowl, combine crème fraîche, milk and vanilla extract. Stir until smooth and creamy.
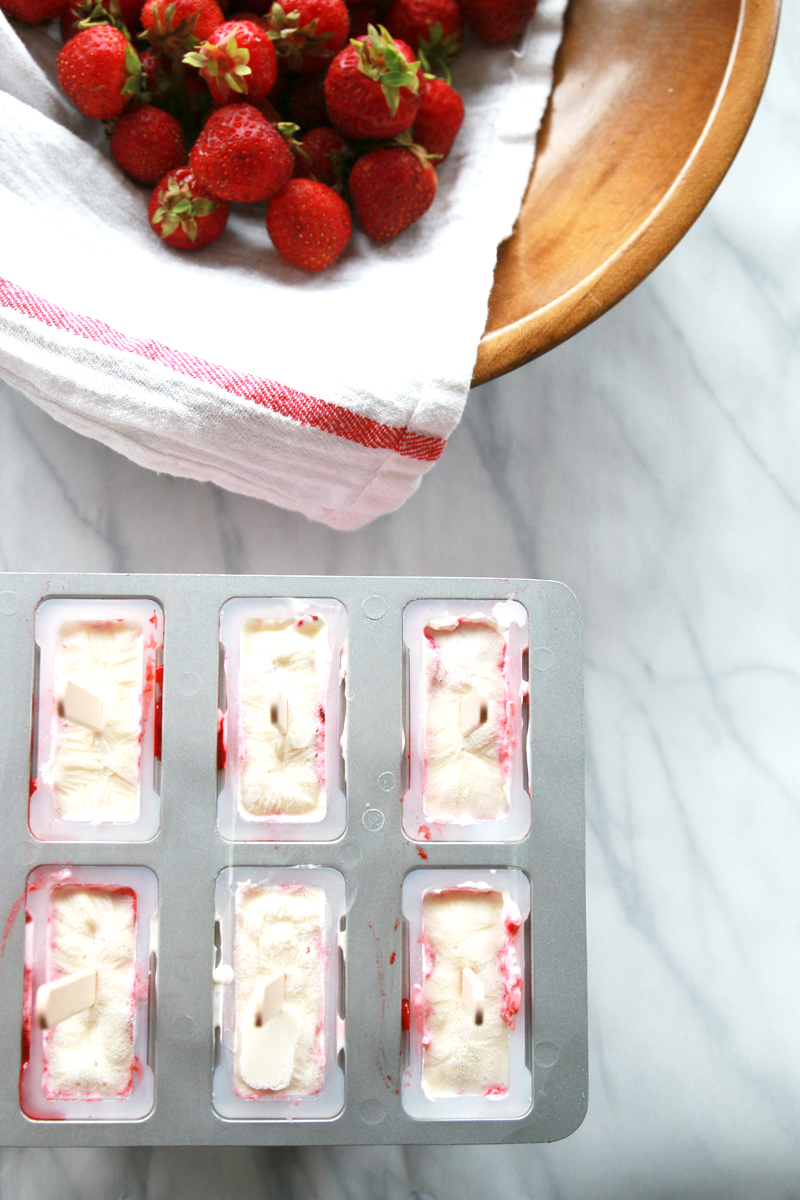
3. Spoon strawberry mixture into each popsicle mold until they are evenly filled. Repeat with the cream mixture. Using a spoon or popsicle stick, gently swirl the mixture inside each mold together.
4. Freeze pops for 30 minutes, then set the popsicle sticks in each. Continue freezing for 4 hours, until set.
5. To remove the popsicles, let them sit out 5-10 minutes to soften or prepare a large bowl of warm water and set the popsicle mold inside for 10 seconds. Gently wiggle each popsicle stick until the pops release.
*For a creamy, blended popsicle: Stir together the fruit puree and cream mixture, then divide evenly between the popsicle molds. For a layered pop: Alternate layers of fruit puree and cream mixture, freezing 10 minutes in between each layer to set before adding another layer.
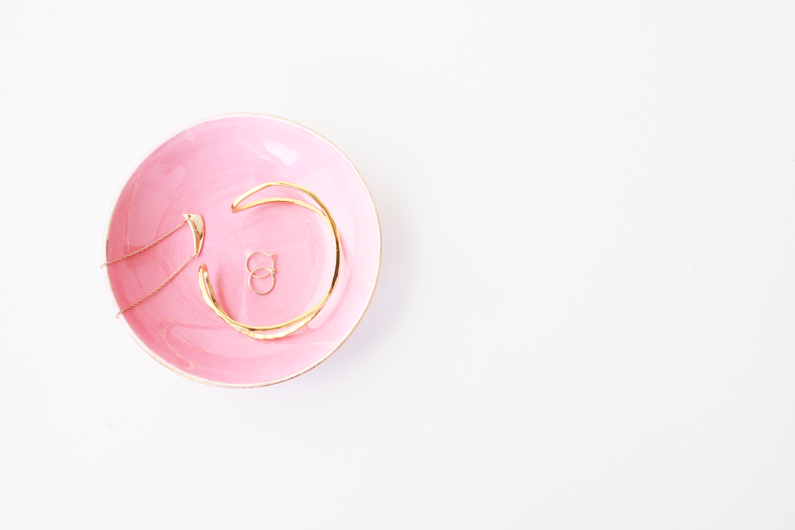
For about a year now, I’ve been wearing the same three pieces of jewelry (besides my wedding rings) on a near-daily basis. While I’ve very intentionally simplified my wardrobe, my skincare, my makeup, and plenty of other things around our home, reducing my jewelry wearing was totally unintentional at first but then came so naturally–especially once baby arrived! I first wore my Jennifer Zeuner necklace and Gorjana cuff at my baby shower last August, then added the Catbird earrings a few months later. Some days I wear just one piece, other days all three, but because they are so delicate and dainty, they never ever feel like too much. These are the kind of everyday jewelry pieces you’ll forget to take off. They add just the right bit of polish to casual outfits, and just the right touch to more dressed-up looks. Sadly this particular necklace has since sold out, but I really love this one and this one would be another good option.
Week or weekend, you’ll most often find me wearing something just like this. Not fancy, not fussy, just simple, comfortable and classic. It fits my lifestyle, my city’s vibe, and my new-mom routines well. Without a doubt, all four of these pieces have become wardrobe essentials, those perfect pieces I gravitate toward and wear again and again. I’ve worn the D’Orsay flats into the ground…they are by far my favorite shoe purchase in the last year…and I’m already plotting to replace them and nab a pair in black. The chambray shirt I’ve had for several years now, and it can do no outfit wrong. And the high-rise black jean? My new jam post baby.
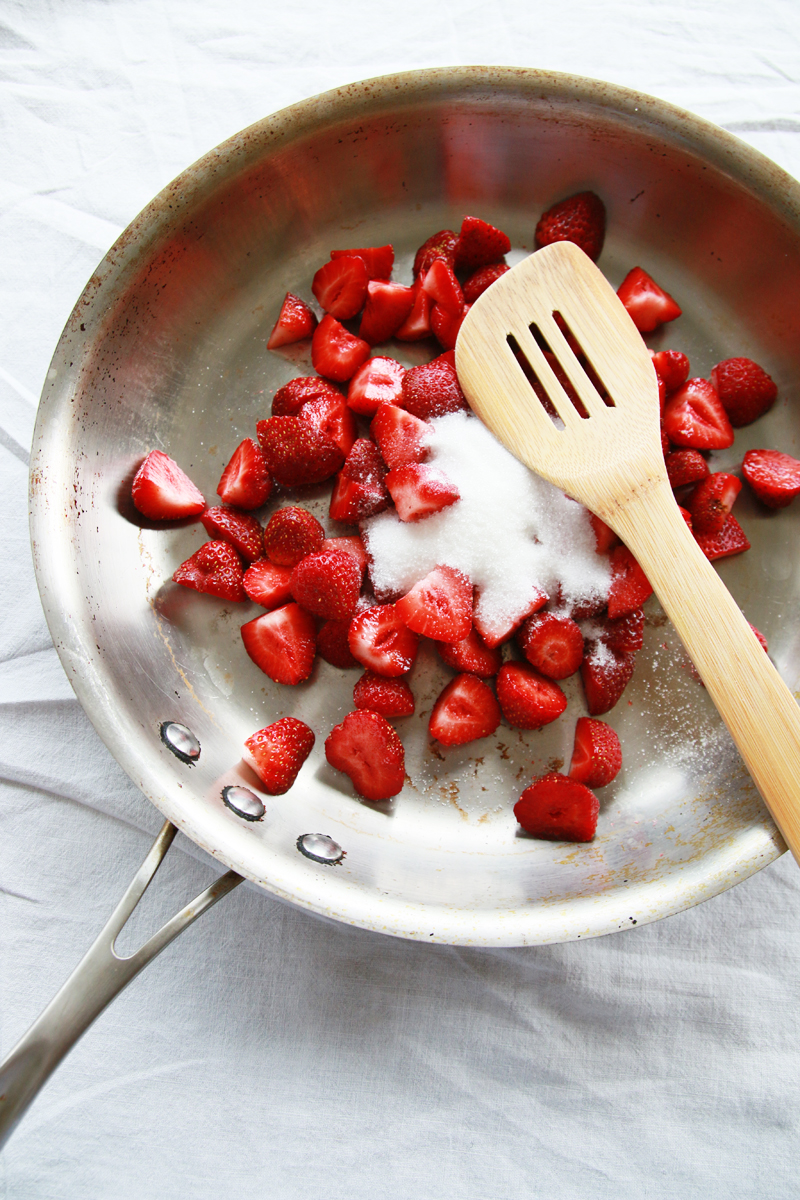
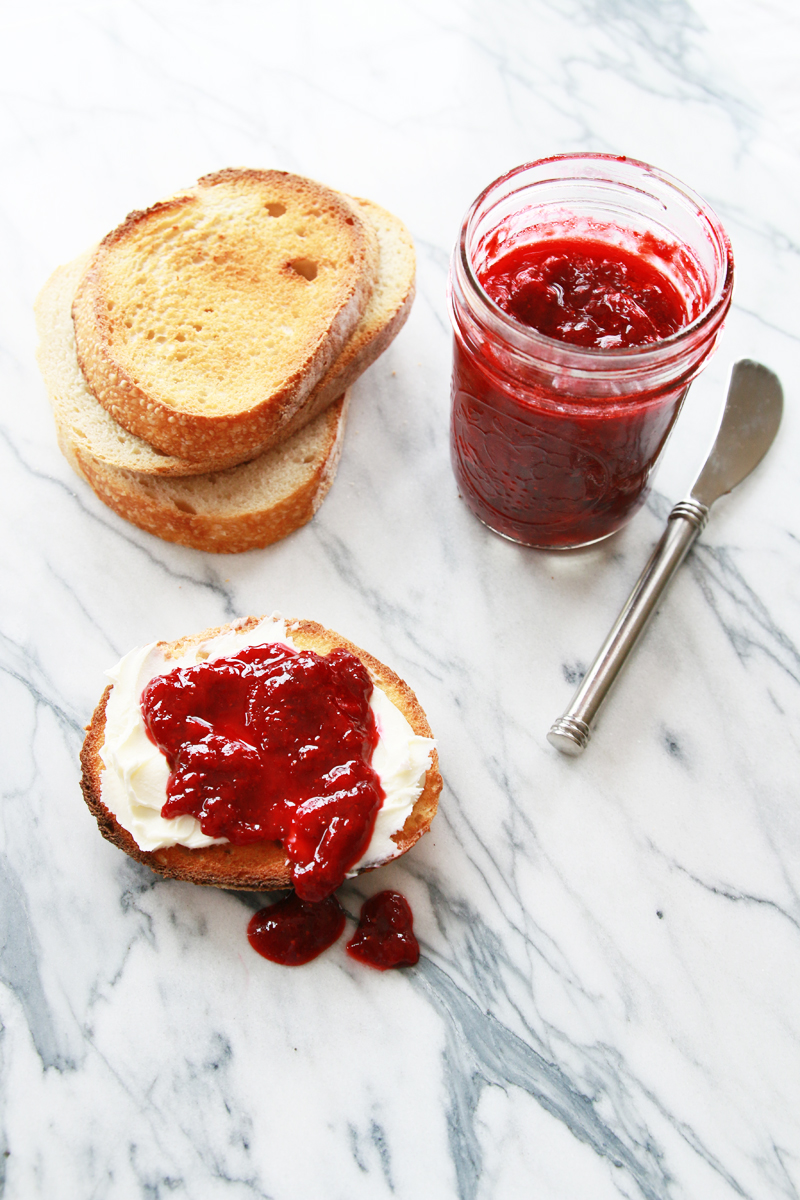
When I found myself with seven pounds of freshly picked strawberries last weekend, the most obvious choice was to make jam. I’ve always wanted to try homemade jam, but the whole canning process seemed daunting and too time intensive. While I love spending time in the kitchen, I mostly lean toward recipes and processes that err on the side of ease and simplicity. And I remember picking peaches during the Texas summers growing up, and my mom spending a long time in the kitchen afterward cooking down the peaches, sterilizing jars, and stocking the pantry. Remembering that one of the vendors at our farmers’ market sells the most delicious, no-cook refrigerator jams made from sweet local strawberries and raspberries, I dug around to find a similar recipe and adapted it. This is an instant essential in my cooking toolbox — simple, fast and resulting in the freshest strawberry jam ready in just 20 minutes. It can be frozen or kept in your refrigerator for a few weeks (if it even lasts that long!).
INGREDIENTS
2 pounds of strawberries (about 4 cups hulled)
2/3 cup sugar
4 tablespoons lemon juice
Pinch of salt
Toast
Mascarpone
INSTRUCTIONS
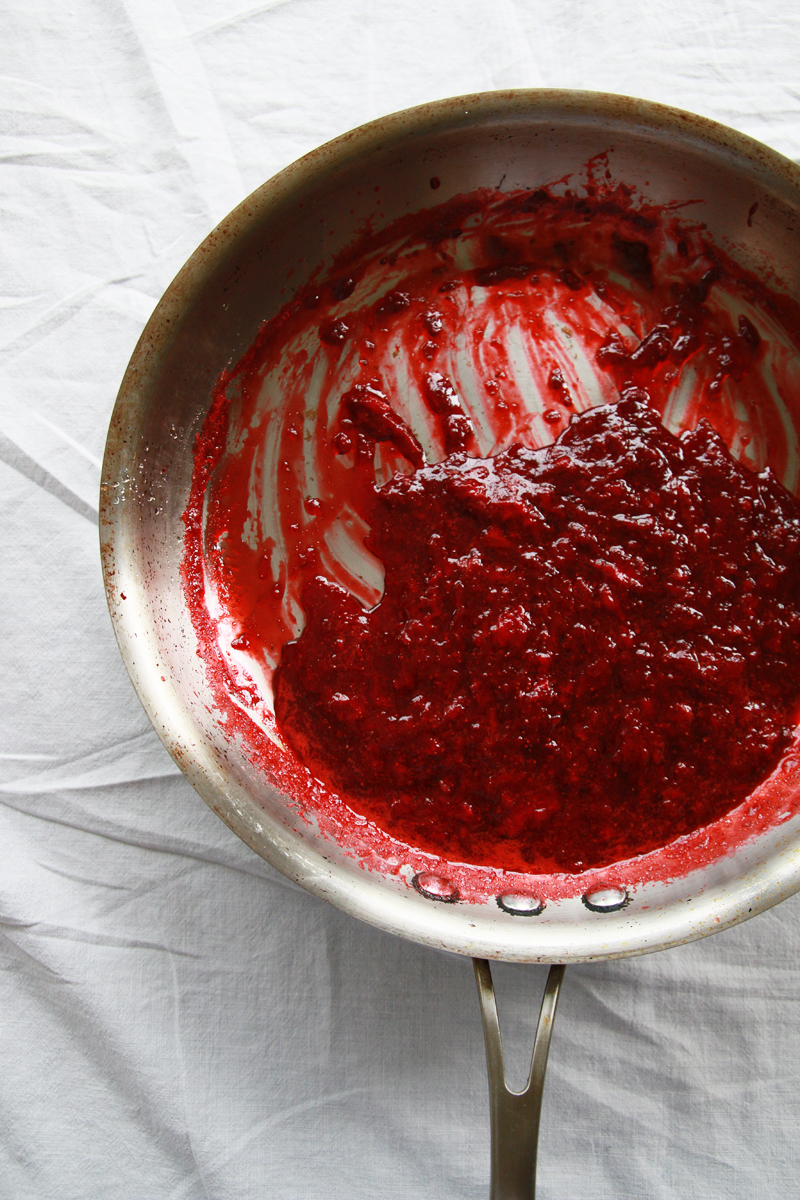
1. Combine the strawberries, sugar, lemon juice, and salt in a large skillet. Cook over medium-high heat, using a potato masher to break down the strawberries as they cook. Continue cooking about 20 minutes, until most of the liquid has disappeared and the jam is thickened.
2. Remove from heat and let cool in the pan. Scoop into glass jars (should fit into 2-8oz Ball jars). Refrigerate for 2-3 weeks or freeze.
3. To serve, spread mascarpone cheese on toast. Spoon strawberry jam on top.
*Recipe adapted from Real Simple.
You are currently browsing the Perpetually Chic blog archives for July, 2015.